
Disclosure: Independent educational gardening content, not an advertisement. There are no confirmed affiliate approvals for this guide; review the site disclosure. The recommendations that follow distinguish crop biology from universal shortcuts. This article addresses from safe seed to covered tubers, and links to source-specific Extension and federal guidance before the FAQ.
Start With Certified Seed Tubers Rather Than Food Potatoes
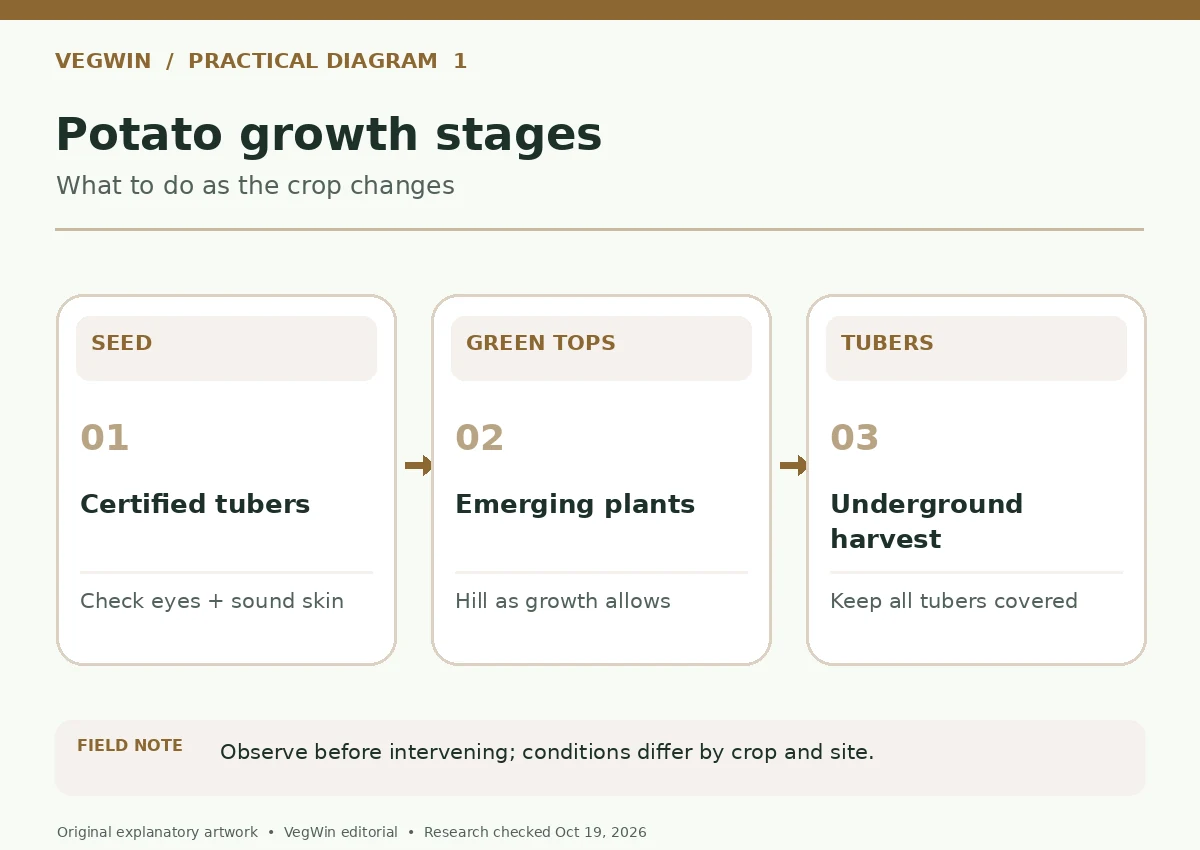
The part planted for most home potato crops is a seed tuber, not a botanical potato seed. Each healthy tuber contains buds called eyes that grow into stems. University of Minnesota Extension recommends disease-free certified seed from a reputable grower or distributor because infected planting stock can introduce serious problems into a bed. The idea that any old potato with a sprout is good planting material is an unnecessary risk. Grocery potatoes may have been treated to discourage sprouting and may carry pathogens. Saved garden tubers can look healthy yet still harbor problems. Our guide “Sweet Potato Slips” adds more detail on this.
Choose varieties using the texture and harvest you want—waxy types for salads, starchy types for baking or a storage-suited type for keeping—plus local growing-season and disease considerations. A cultivar selected for another region may perform poorly where summer soil becomes very hot or disease pressure differs. Do not promise a particular yield from an arbitrary sack of seed pieces. Record supplier, variety, seed health status and the planting bed. If a vendor cannot tell you the variety or seed certification status, postpone planting until you can source reliable material.
Prepare a Well-Drained Bed and Correctly Sized Seed Pieces
Potatoes produce tubers underground and require room for roots and developing storage organs. Choose a sunny, well-drained position; consistently soggy soil increases seed-piece rot and disease risk. Have the soil tested before adding fertility, because potato recommendations can differ from those for many other vegetables. Minnesota Extension describes a mildly acidic preference, but changing pH or applying nitrogen without a soil test may create new problems. Use clean tools, and avoid a bed recently occupied by tomatoes, peppers, eggplants or other potatoes when rotation space allows.
Small seed tubers can often be planted whole. Larger tubers may be cut into pieces with viable eyes using a clean knife and allowed to develop a dried protective cut surface before planting. The precise size and cure period should follow certified supplier or local Extension instructions, not guesswork; deeply wounded or decayed stock belongs outside the planting batch. Keep pieces labeled by variety. Do not leave seed pieces drying in direct scorching sunlight or a place where rodents can reach them. The goal is a firm, healthy piece that sprouts, not a piece trimmed as small as possible.
Plant When the Soil Is Ready, Not on a Fixed Date
Potato planting time depends on local soil warming, moisture and frost risk. Minnesota Extension illustrates how spring timing differs even within its state; Penn State Extension similarly warns that soil that is too cold and wet can rot seed pieces. Do not use a USDA hardiness zone as a calendar for the day to plant. Check a local Extension schedule, measure soil conditions and review the short-term forecast. Cold-tolerant foliage is not the same as a guarantee that newly emerging shoots will survive every freeze.
In a conventional bed, seed pieces are placed in a shallow trench with space for eventual stems and future soil hilling. For one Minnesota reference, Extension gives about ten to twelve inches between pieces and rows spaced enough to reach and mound plants; adjust if local guidance and cultivar differ. Place pieces with viable eyes in the orientation recommended by the source, cover them properly and mark the row to avoid disturbing shoots. Do not pack heavy wet soil tightly above them. After planting, patience is useful: emergence speed varies with soil warmth.
| Stage | Priority action | First warning sign |
|---|---|---|
| Seed selection | Certified, labeled disease-free tubers | Unknown stock or decayed cuts |
| Emergence | Check soil warmth and drainage | Seed rot in cold saturated bed |
| Vegetative growth | Hill to cover forming tubers | Light-exposed green tubers |
| Harvest | Separate new and mature uses | Injured or extensively green tubers |
Hill Soil to Keep Developing Tubers Covered
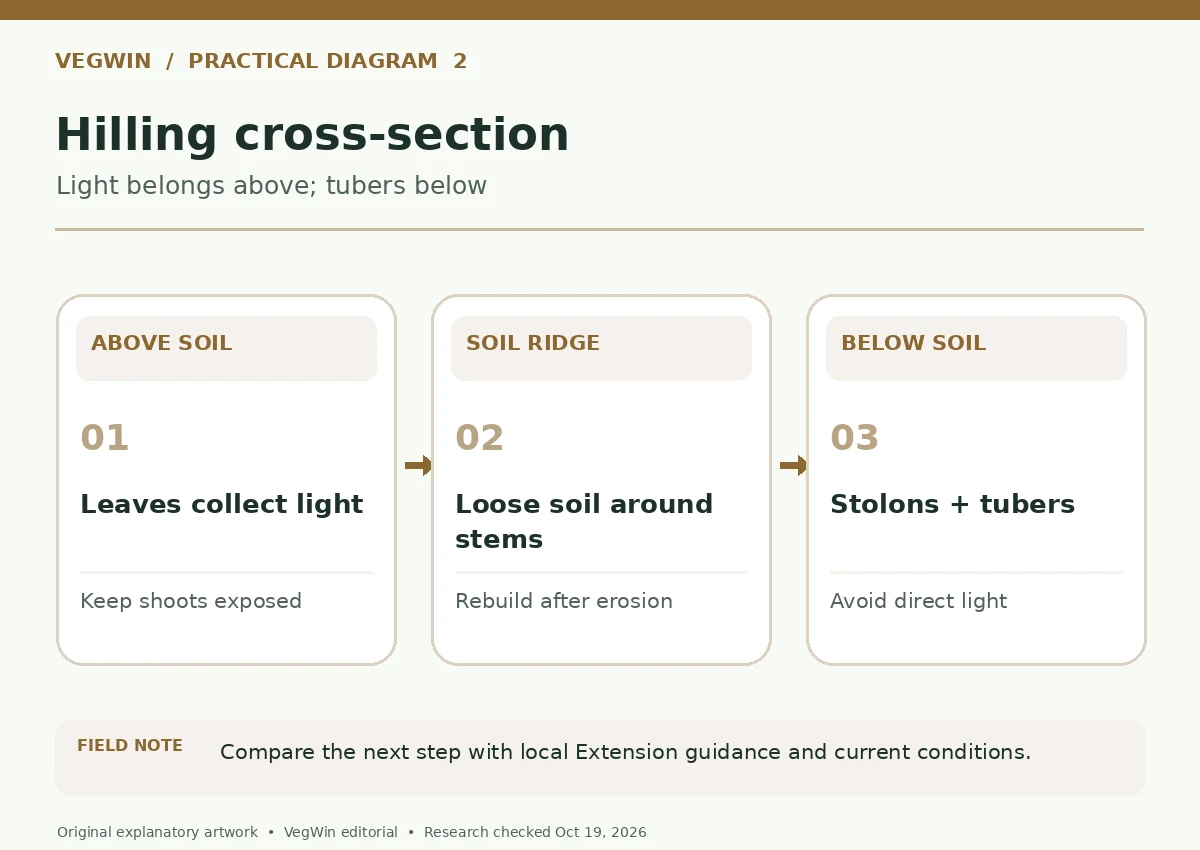
Hilling means moving loose soil or suitable growing medium around emerging stems while leaving enough healthy leaves exposed to photosynthesize. Potato tubers form underground on stems called stolons; soil coverage reduces light reaching shallow tubers. University of Minnesota Extension recommends hilling when plants have grown substantial stems, then repeating as needed. The process is not simply piling an enormous mound in one day: incremental coverage is easier on stems and lets you see what is happening. Avoid burying an unhealthy plant without investigating the problem. Our guide “Potato Grow Bags” covers how to manage drainage, hilling and harvests.
Look carefully near the soil surface after heavy rain, irrigation or cultivation. Exposed tubers can turn green in light and accumulate undesirable glycoalkaloids. Keep them covered during growth. Never assume that cutting away a tiny patch makes an extensively green tuber safe to eat; discard potatoes that are very green or bitter, and never eat sprouts. In containers, add medium as the shoots rise while keeping drainage effective; do not overfill a weak bag and expect its advertised total volume to yield more potatoes automatically. Access and water behavior matter as much as bag height.
Keep Moisture Consistent While Avoiding Saturation
Potatoes can produce misshapen or hollow tubers when moisture is erratic at sensitive growth stages. Check the soil below the surface, then water deeply when the root zone needs it. Minnesota Extension recommends judging moisture penetration with a trowel rather than assuming that wet surface soil means the root zone received enough water. Frequency will vary with soil texture, weather, mulch and plant development. A sandy site may need more frequent attention than a heavier site, while continually soggy ground can favor rot. There is no safe universal watering interval for every garden.
Weeds compete for water and can make hilling difficult. Use shallow cultivation to avoid injuring underground stems and tubers. Mulching and careful hand weeding may help where appropriate, but do not smother vulnerable stems in a wet climate. Yellowing lower leaves can be normal with plant age, while rapid dark lesions, collapsing stems or unusual insect populations merit identification. Take photographs, note weather and consult local Extension diagnostics. Do not move infected debris from bed to bed or assume that the first spot seen is late blight.
Scout Specific Potato Problems Before Treating
Colorado potato beetle adults, larvae and egg masses are recognizable targets for inspection, but leaf damage can also come from other insects, hail or disease. Penn State Extension describes scouting rather than indiscriminate treatment. Check undersides of leaves for eggs, observe feeding patterns and identify insects with local IPM resources. Potato diseases include early and late blight and several tuber problems that cannot be reliably distinguished from one poor photo. Rotting stems or sudden, widespread water-soaked lesions should prompt local diagnosis, especially where late blight alerts are active.
Rotation, certified seed, drainage and the removal of seriously diseased material form the foundation of prevention. If any pesticide is considered, follow current local Extension recommendations, the actual EPA-approved product label, edible-crop use restrictions and regional rules. This page does not provide an automatic spray schedule, a homemade treatment or chemical mixing instructions. Some symptoms result from temperature, nutrition or water, not a pesticide deficiency. Correct diagnosis is both safer and more likely to preserve the harvest.
Harvest New Potatoes Differently From Storage Potatoes
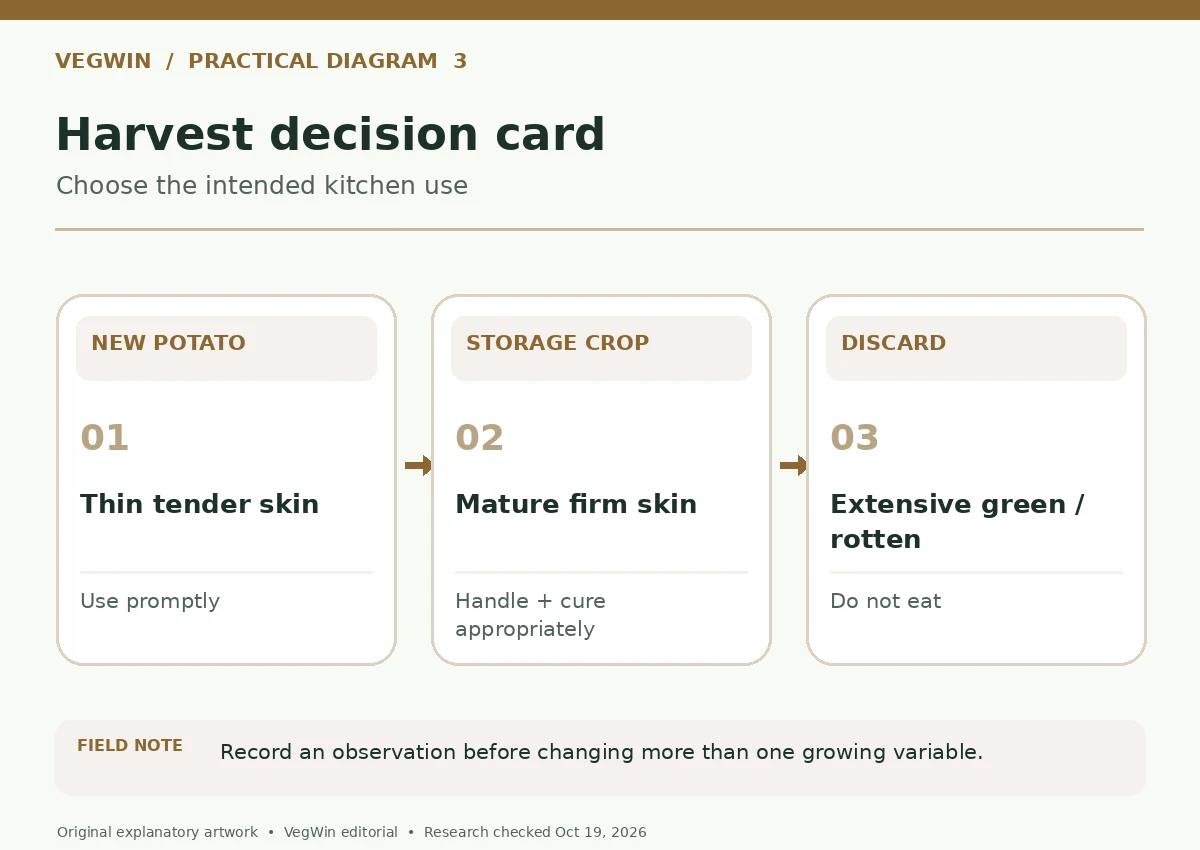
New potatoes are harvested before skins fully firm up; they are tender and best used relatively soon. A storage potato is usually left until suitable maturity, often after the tops have aged or died back, with skin that does not rub off easily. Minnesota Extension and Penn State provide regional reference stages, but the variety and season may shift actual harvest timing. Dig carefully with a garden fork away from the main plant to minimize punctures. Sort cut, rotten and sound potatoes separately; damaged tubers should not enter long-term storage.
Keep harvested potatoes out of strong light, handle them without bruising and cure or store according to authoritative variety-specific guidance. Do not wash storage potatoes unnecessarily before curing; brush off dry soil after it loosens. Greened potatoes and sprouts require caution because of naturally occurring toxins, and potatoes are not a crop for improvised home canning processes. For preserving by canning, consult tested USDA or National Center for Home Food Preservation procedures rather than extrapolating from other vegetables. The most useful harvest is one you can use safely, not merely the heaviest bucket. If you want the full process, read how to grow sunchokes without letting tubers spread everywhere.
Related Guides
- How to Store Root Vegetables: Sort, Cool, and Prevent Spoilage
- How to Chit Seed Potatoes With Eyes Up for Short, Sturdy Sprouts
- How to Grow Purple Potatoes in Containers Without Exposing the Tubers
- How to Plant Seed Potatoes and Hill Soil to Prevent Green Tubers
- How to Identify Colorado Potato Beetle Eggs and Larvae on Potato Leaves
How We Research and Set the Scope
This is the distinct potato-tuber production workflow. Potato pests mentioned only as identification/scouting; no pesticide directions. A web attempt to access the active VegWin.org article inventory did not succeed; therefore this is an editorial overlap screening, not verification that all live WordPress URLs are unique. Check the site and category assignment in WordPress before manually publishing. Biological claims depend on the crop, variety and region. No unverified affiliate program, product rating, pesticide recipe or fertilization rate is implied.
Sources checked 2026-10-19: University of Minnesota Extension: Growing Potatoes in Home Gardens; Penn State Extension: Potatoes in the Garden and the Kitchen; Penn State Extension: Potato Production. Each institution supports a specific claim in the source record below; these sources do not sponsor VegWin. Their evidence should be interpreted in its own geographic and crop scope. For sponsorship policy, see the affiliate disclosure.
Certified seed tubers are safer and more reliable because grocery and previously saved potatoes may carry disease or have sprout-inhibiting treatments.
Hilling keeps shallow developing tubers covered, helps avoid light exposure and can protect usable harvest quality.
Use local Extension advice, warmed workable soil and current conditions rather than USDA zone alone.
Do not eat heavily green, bitter or extensively affected potatoes. Greening warns of light exposure and potentially elevated glycoalkaloids.
New potatoes are lifted before skins fully mature; potatoes intended for storage are harvested and handled for firm skins and keeping quality.