
Tomato seed saving is more than rinsing seeds from a sandwich tomato. The resulting seedlings must be viable, and you should know what kind of plant they are likely to become. Choose the parent plant deliberately, use a documented cleaning method, dry the seed completely and keep a traceable label. The method below is for gardening seed, not for fermenting food to eat or treating seed-borne diseases. Disclosure: This is independent gardening information, not a paid product placement. Affiliate partnerships for this page are not verified; see the site affiliate disclosure.
Choose a Parent That Can Produce Predictable Seed
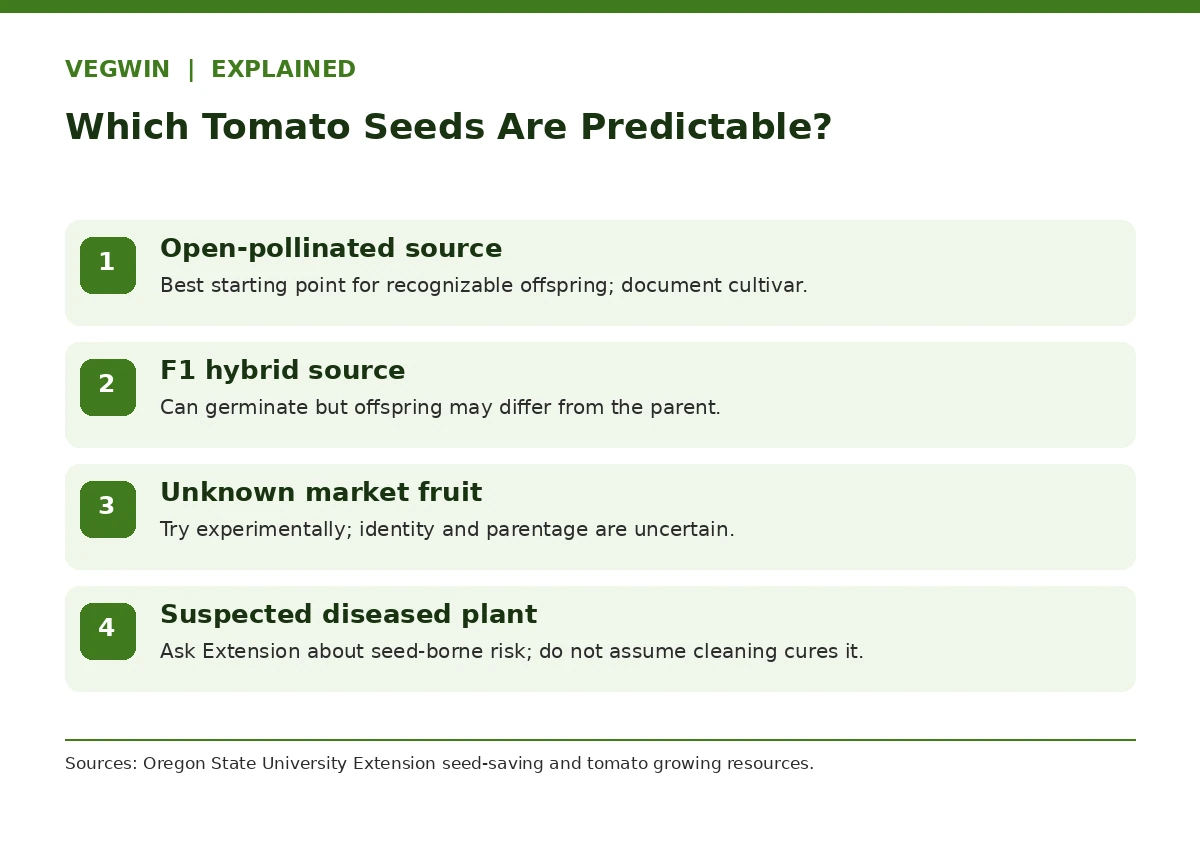
First read the variety label from the original seed packet or nursery source. Open-pollinated tomatoes are a practical starting point when you hope to grow plants resembling the parents. An heirloom is often open-pollinated, but age or an attractive market name alone is not proof. Oregon State University Extension explains that seeds collected from an F1 hybrid can segregate in the next generation; they can germinate but produce fruit that differs in size, flavor, shape, vigor or maturity. Save hybrid seed as an experiment only if you are comfortable with unpredictable results. If you want the full process, read how to save pepper seeds without confusing maturity and crosses.
Tomatoes mainly self-pollinate, yet occasional crossing is possible and conditions vary. If preserving the precise identity of a cherished cultivar matters, consult a dedicated seed-saving isolation guide and document nearby varieties. For a casual home trial, record uncertainty rather than promising genetic purity. Select vigorous, correctly identified plants that behaved as expected for the named cultivar. Never assume a visibly diseased plant becomes safe simply because seeds are later rinsed or fermented; seed-borne pathogens require separate expert evaluation.
Harvest Ripe, Healthy Fruit and Maintain Lot Identity
Choose fully mature fruit from a healthy plant, ideally several representative fruits if available. University of California seed-saving guidance emphasizes harvesting ripe fruit and preserving variety identification. Do not select fruit only because it is unusually large after a one-off heat or watering event; notice the plant’s overall health, fruit type and flavor across the season. Avoid fruit with suspicious disease signs and ask local Extension diagnostics if there was known bacterial or viral disease in the planting. If that is your next decision, our guide “Heirloom Vegetables Explained” explains how to choose varieties and save seed wisely.
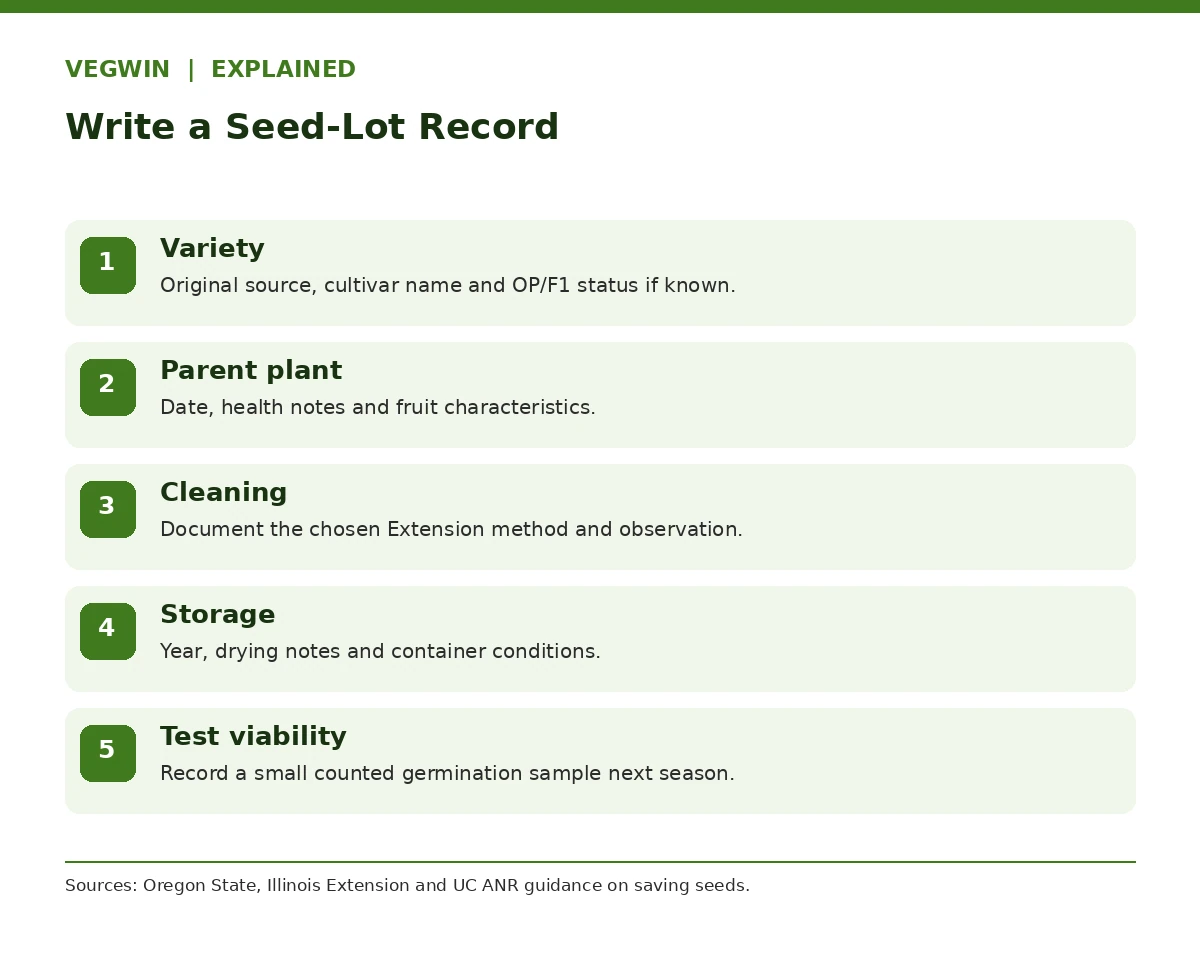
Work with one tomato variety at a time, using clean tools and a clean labeled container. Write the cultivar name, harvest date and parent plant identifier before squeezing out the seeds; wet seeds from multiple varieties look deceptively alike. Include whether the seed packet said open-pollinated, heirloom or F1. If the name is uncertain, label the sample as unknown rather than inventing a variety. This simple record is the difference between a useful seed lot and a bag of anonymous material next spring. If that is your next decision, our guide “Heirloom Tomato Varieties” explains how to choose by fruit, vigor, and local risk.
Separate Seeds From the Gel by a Documented Method
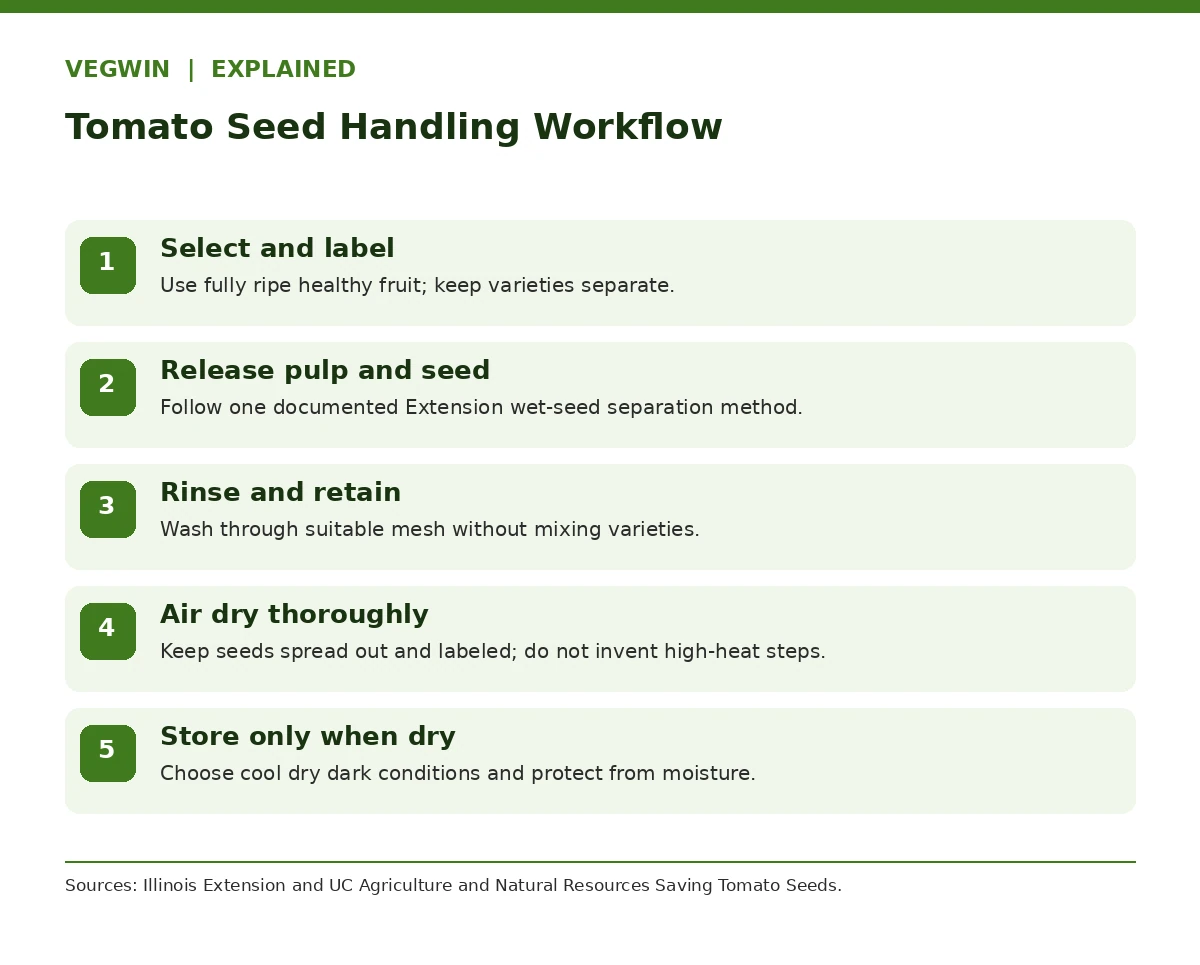
Tomato seeds are embedded in gelatinous material and pulp. Illinois Extension describes covering seed-and-pulp material with water and allowing a short fermentation while stirring and watching the mixture. University of California guidance describes a similar small-scale fermentation and then rinsing the seeds. Follow the conditions of the chosen Extension method rather than inventing exact temperature or duration from memory; the time can vary with conditions. Keep the container covered in the manner directed by the source, labeled, away from food preparation and out of the reach of children or pets.
Fermentation helps break down the gelatinous coating for separation. It is not proof that every seed pathogen was eliminated, and a home seed-saving procedure is not a validated disinfection protocol. If your main reason for saving seeds is to recover genetics from a planting that had a serious disease, seek local advice before using them. Oregon State also describes simpler seed-cleaning approaches; the key is identifying which extension procedure you follow and separating clean seed from fruit residue without claiming sterility. Our walkthrough on how to save lettuce seeds from flowering to clean storage sets out each step.
Rinse Carefully and Avoid Losing the Seed Lot
Once the documented separation period is complete, gently pour off floating debris and rinse the retained seed in a fine mesh strainer. Illinois Extension notes that heavier viable seed often settles, but floating versus sinking is a crude separation signal, not an absolute germination test. Some viable seed may be lost if you discard everything that floats without review. Keep a clean bowl below the strainer so small seeds cannot vanish into the drain, and do not combine two seed lots accidentally.
The retained seeds should be as free of sticky fruit residue as practical before drying. If the mixture smells unpleasant or develops surface growth during the prescribed fermentation, that does not by itself establish that the seed is disinfected. Clean the workspace after handling tomato pulp. Transfer the cleaned seed to a breathable drying surface labeled with the same lot identifier; wet seeds left clumped together can remain damp internally even when their edges look dry.
| Record | What to write | Why it matters |
|---|---|---|
| Parent identity | Variety, original packet, OP/F1 if known | Predictability of offspring |
| Plant condition | Healthy appearance and any disease concerns | Flag lots needing Extension advice |
| Cleaning method | Extension reference and actual processing notes | Reproducible preparation |
| Drying and packaging | Dates, humidity concerns, container | Avoid sealed damp seed |
| Next-season test | Number tested, number sprouted | Estimate remaining viability |
Dry Seeds Thoroughly Without Cooking Them
Spread a thin layer of seeds where air can circulate and the label cannot fall away. Use the drying method from the source you selected; University of California’s fact sheet describes extended air drying away from direct sun. Do not use a hot oven or guess a dehydrator temperature for planting seed. Heat or trapped moisture can reduce viability, and seeds that feel dry on the outside may still be stuck together by remaining moisture. Check periodically and gently separate clumps.
Never transfer moist seeds immediately into a sealed jar, even if storage seems convenient. Condensation encourages deterioration. The drying stage depends on humidity, room airflow, seed quantity and method; it is not a universal overnight task. If you cannot keep the labeled samples separated and dry, it is safer to postpone long-term storage and document the uncertainty than to close a damp batch in plastic.
Package, Label, Store, and Test Later
Label each envelope with variety, open-pollinated or F1 status if known, harvest year, source plant and notes about any unusual conditions. Store thoroughly dried seed in a cool, dry, dark environment, protecting it from household humidity and temperature swings. Illinois Extension recommends sealed containers where humidity is problematic, but seed must be fully dry before sealing. Avoid moving chilled containers immediately into warm humid air and opening them while condensation can form on the seeds.
The following planting season, test a small counted sample for germination before sowing the whole lot. Record how many seeds sprout and whether seedlings look normal; this tests viability, not whether the cultivar will come true or whether the seed is free from disease. Keep older and newer lots separate until you have results. If the saved seed was from an F1 plant or the variety label was uncertain, grow the offspring as a trial and describe them accurately rather than marketing them as that cultivar. Our walkthrough on how to test old vegetable seeds before planting with a paper towel sets out each step.
Related Guides
- Growing Tomatoes: A Step-by-Step Plan from Transplant to Harvest
- Potted Tomato Plants: Choose the Right Container and Prevent Water Stress
- Tomato Leaf Curl: Diagnose Stress, Herbicide Injury, or Disease
- Tomato Plants Care: A Weekly Checklist for Water, Leaves, and Fruit
- Why Tomato Flowers Drop Without Fruit: Check Weather Before Fertilizer
How We Research This Guide and Review Regional Exceptions
We checked current results for the precise reader question and read primary university Extension horticultural guidance on October 19, 2026. The VegWin.org article and category URLs could not be independently accessed during this research; consequently, we cannot confirm every live or unpublished WordPress URL, category route or ongoing site update. The editor must check competing posts and the live category in WordPress before manual publication. These recommendations reflect source-specific horticultural evidence and do not replace region-specific crop schedules, soil tests or product labels.
Sources checked October 19, 2026: Illinois Extension: Start Saving Your Seeds Today (2022); Oregon State University Extension: Seed Saving (2021); University of California Agriculture and Natural Resources: Saving Tomato Seeds; Oregon State University Extension: Collecting and Storing Seeds. Each source supports the specific horticultural claim listed in the editorial record; the sources do not endorse VegWin. Statements about biological variety, planting readiness or garden pests are conditional on crop and local conditions. No pesticide mixture, fertilizer rate or commercial partnership is assumed. See our affiliate disclosure page for the general site policy.
Yes, they may germinate, but variety identity, hybrid status and growing conditions can be unknown, so fruit traits may not match.
Not reliably. Their offspring can segregate into different traits even when the seeds germinate successfully.
No. It helps separate gel and pulp; it is not a verified universal seed-disinfection treatment.
Avoid improvised heat. Follow an Extension seed-drying method with careful air drying to protect viability.
Conduct a small counted germination test before sowing the main batch; track the results and keep variety identity separate.