
Celery seed is exceptionally small, and its slower start makes it easy to bury the seeds, wash them into one corner or abandon a viable tray too soon. This guide separates the first stages of growth: stable seed-to-medium contact, shallow sowing, evenly moist air and medium, steady light, then gradually stronger seedling care. Use your packet for the particular cultivar and compare germination with local conditions rather than assuming all seed trays should be treated alike.
Recognize How Small Celery Seeds Really Are
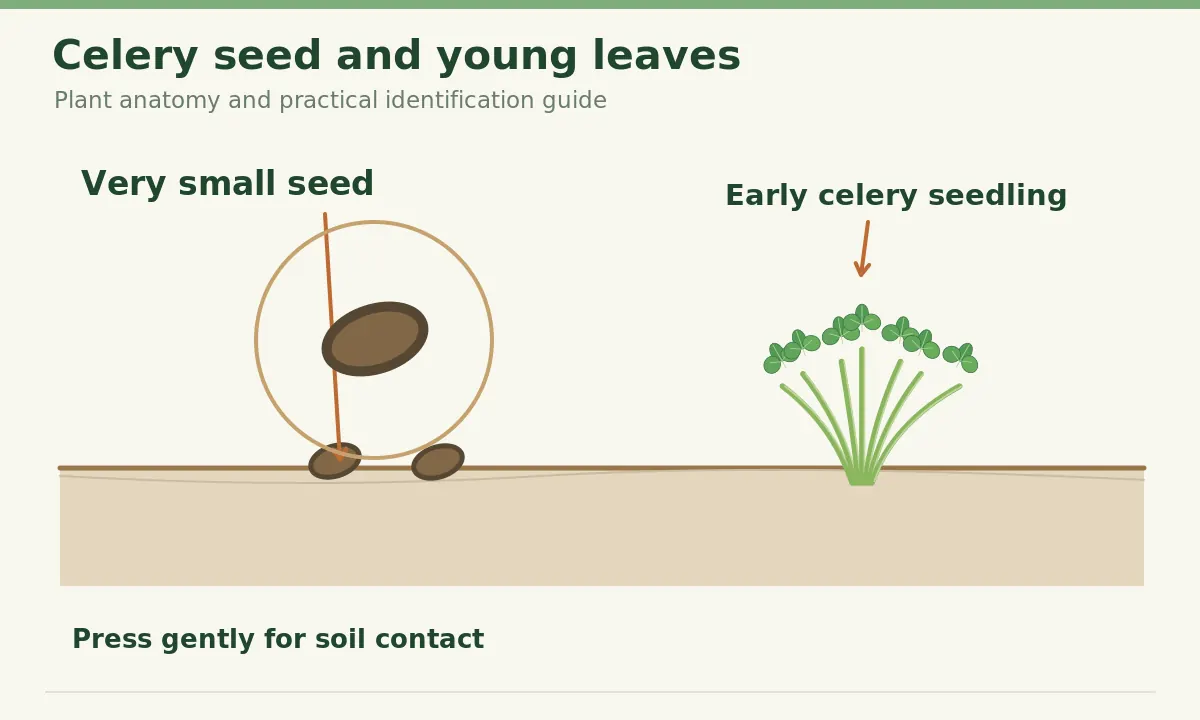
Ordinary stalk celery, Apium graveolens var. dulce, forms a dense rosette of leaf-bearing petioles as it matures, but its dry seeds are only tiny flecks. They are not pea-sized seeds to bury under a thick layer of potting mix. Before sowing, tip a few seeds onto white paper and notice their size. Keep them dry until the container is ready, as a wet fingertip may pick up several at once. Check the packet for treatment, pelleting, or proprietary instructions; pelleted seed looks much larger but its coating changes how it handles moisture. This guide is intended for homegrown celery transplants rather than celery microgreens or celeriac.
Build a Clean Fine-Textured Seed-Starting Surface
Use a shallow, clean tray or cell pack with drainage holes and fresh seed-starting medium. Moisten the mix throughout before you place the seed; if the surface is dry, the first heavy watering can dislodge tiny seed into corners. Level it gently, breaking apart large lumps without compressing the tray into a hard crust. A level, fine-textured surface lets seed contact moist medium while remaining close to light. Ordinary uncomposted garden soil may carry weed seeds, pathogens and large clods, so it is not a good substitute for a purpose-made starting mix. Set the tray in a drip-safe place and label the cultivar and sowing date.
Place Seeds on Top or Under Only a Trace of Mix
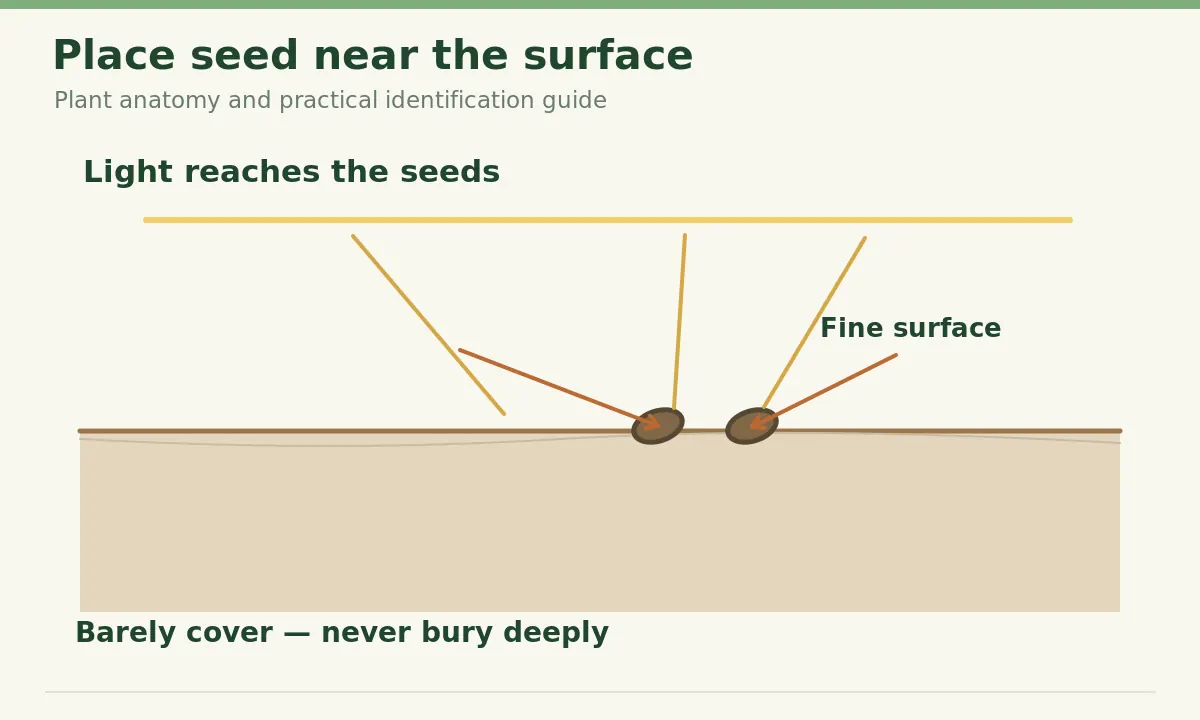
Iowa State Extension lists celery as a lightly covered seed, while Alaska Cooperative Extension emphasizes light for celery germination. These are compatible when a fine layer stays exceptionally thin and light can reach the seed. Press seed gently against the moist surface; where the seed packet calls for covering, apply only a dusting of fine vermiculite or mix, not a deep hole. Virginia Tech notes that small celery seed should be only about one eighth inch deep at most. Do not use the standard quarter-inch to half-inch trench for larger vegetable seeds. In a cell, space a few seeds rather than forming a thick opaque pile.
Maintain Even Moisture Without Flooding the Tray
The uppermost layer must not dry repeatedly while the seed takes up water and begins to germinate. Use a fine mister or water carefully from below, allowing drainage after the medium becomes moist. Keep a clear humidity dome if needed, but examine the medium rather than assuming a dome makes watering unnecessary. Condensation is not proof of healthy root conditions: waterlogged cells can exclude oxygen and encourage seedling problems. If the top remains glossy and puddled, let it drain. If it turns pale and powdery, mist lightly. Remove the cover promptly after seedlings emerge so air circulates around the stems.
Give Germinating Seeds Gentle Light and Stable Temperatures
Keep the tray in bright indirect light or under a suitable seed-starting fixture, avoiding intense sunlight trapped beneath a plastic dome. Celery tolerates a different temperature range than heat-loving peppers; do not heat it to very high temperatures simply because other vegetable seeds benefit from a mat. Iowa State provides a sowing guide around 70–75°F, while other Extension tables vary by growing system. Measure the medium temperature rather than guessing based on room air. The important point is moderate and consistent conditions rather than alternating hot windowsills and chilly nights. Follow cultivar-specific packet guidance if it specifies a narrower temperature.
Wait Long Enough Before Calling Germination a Failure
Celery can take about two to three weeks to emerge, sometimes longer under cool or erratic conditions. Iowa State lists 14–21 days; other Extension sources report similarly slow emergence. Mark the date, inspect the tray daily and keep the upper surface stable during that interval. Do not stir the medium to hunt for seed, and do not add another thick planting of seeds every few days. When nothing emerges after the expected window, check seed age, sowing depth, watering consistency and medium temperature before re-sowing a fresh batch. A small control tray can help identify a bad seed lot versus a problem with the setup.
Move Sprouted Celery Into Brighter Seedling Light
As soon as the first green seedlings emerge, remove any dome and give them adequate seedling light. Celery seedlings initially have two seed leaves, followed by more divided true foliage. Weak long stems leaning toward a window signal inadequate light or crowded conditions, not a need to bury their crowns. Provide regular gentle airflow, avoid direct fan blast and prevent standing water beneath cell trays. The top may dry slightly between careful waterings, but the root zone should not become completely dry. Keep container labels and do not confuse the very first seed leaves with the mature celery leaf shape.
Thin Dense Cells Without Pulling Nearby Seedling Roots
Where several seedlings emerge together, keep the most vigorous healthy individual in each cell or transplant at a suitable stage with minimal root disturbance. If roots are already interlaced, use fine scissors to snip unwanted stems at surface level instead of yanking out several seedlings. Iowa State describes careful seedling thinning for crowded indoor starts. Keep blades clear of the remaining central shoot. Once seedlings have true leaves, provide appropriate growing space and water when needed rather than using repeated hard pruning. Too many crowded celery seedlings compete for light and can remain small long after germination. The goal is one intact crown and root system per chosen plant.
Harden Off Seedlings Before Outdoor Transplanting
Celery commonly needs a long indoor lead time. University of Minnesota includes celery among the early crops sown well before outdoor planting. Work backward from a locally suitable transplant season rather than copying a Minnesota calendar in a warm climate. Before setting outdoors, expose established seedlings gradually to sheltered outdoor light and air for several days, protecting them from strong wind, direct midday sun and chilling. Celery is vulnerable to stress and premature flowering under unsuitable temperature patterns. Transplant at the depth recommended for ordinary celery seedlings, with the crown not buried, then water the shallow root zone consistently while the plants establish.

Troubleshoot Common Failures One Cause at a Time
No sprouts may mean old seed, overly deep sowing, alternating dryness and flooding, or inappropriate medium temperature. Thin pale seedlings most often call for a light check. Fallen, pinched stems and sudden collapse can indicate damping-off; discard affected plants and improve sanitation rather than trying to recover damaged tissue with fertilizer. A green crust on the surface signals a chronically wet tray or algae-prone conditions that merit airflow and watering review. Look for the specific symptom before changing everything at once. Gardeners who keep a simple log of date, temperature and watering can make meaningful adjustments for a second sowing.
Use a Four-Point Check Before Moving the Tray
At planting, confirm the seeds are visible or under only an almost transparent dusting, the medium is evenly damp, the label is legible and water can drain. During germination, confirm the top never crusts dry and the dome is not overheating. At emergence, remove the humidity cover and improve seedling light. Before transplanting, confirm that true leaves, firm stems, rooted plugs and local outdoor conditions all support the move. These are observable conditions rather than arbitrary promises that celery must sprout on a particular morning. Small, deliberate adjustments usually beat repeated watering, deep re-sowing or needless seedling handling.
Related Guides
- How to Start Celery Seeds Indoors for Strong Leafy Transplants
- How to Start Vegetable Seeds Indoors: Timing, Trays, and Transplant Care
- How to Start Chinese Leaf Celery From Seed for Slender Aromatic Stalks
- Growing Celery: A Moisture-First Plan for Crisp Stalks
- When to Harvest Celery: Outer Stalks or a Whole Head Without Waste
How We Research and Verify Plant Advice
Sources checked on 2026-10-26: yardandgarden.extension.iastate.edu; uaf.edu; pubs.ext.vt.edu; extension.umn.edu. We reviewed each institution’s plant identification, correct growth stage and relevant cultural recommendations before adapting them into an independently written step-by-step guide. Where sources are region-specific, their calendar details are not applied universally. Pictures use simplified teaching shapes and should be compared with living specimens; they are not a substitute for laboratory disease diagnosis or local climate guidance. The relevant advice is paraphrased rather than reproduced.
Safety and Independent Editorial Disclosure
This independently prepared educational article does not claim sponsorship or affiliate approval. Our category reading links are informational, not product endorsements. See the VegWin affiliate disclosure. Clean sharp tools before cutting plants, protect hands from thorns and blades, and keep cut plant material away from children and pets where appropriate. Use only locally registered plant treatments labeled for the actual crop, and observe the product label. Do not rely on unsupervised home remedies or unverified harvest-safety promises.
They benefit from light or exceptionally shallow covering; press them on moist media and follow the packet rather than burying them in deep furrows.
Often about 14–21 days, depending on cultivar, seed quality, temperature and moisture.
It can help retain moisture during germination if you prevent overheating and remove it as seedlings emerge.
Snipping extras at medium level is safer once roots are intertwined, because pulling can disturb the seedling you keep.
Begin early enough for slow germination and many weeks of transplant growth, using your local outdoor planting window and packet guidance.