
Bare-root roses look intimidating when they arrive: a few bare canes and a fan of roots, often packed in moist material. Yet the central planting decisions are straightforward. Keep those roots from drying, choose a site where they can spread, and settle the plant at the depth advised for your region and rose type. That last step matters because recommendations for the graft union differ across the United States. Colorado and Iowa cold-climate references describe burying a graft, while Clemson’s South Carolina guidance places it near or above soil level.
This is a planting guide rather than a guide to pruning established rose bushes. A dormant nursery plant needs gentle establishment, not a complex feeding schedule or a promise of instant bloom. Identify whether it is grafted or growing on its own roots, examine the root system before digging, and match your planting week to local spring conditions. A few careful checks now prevent difficult corrections later.
Unpack and assess the dormant plant first
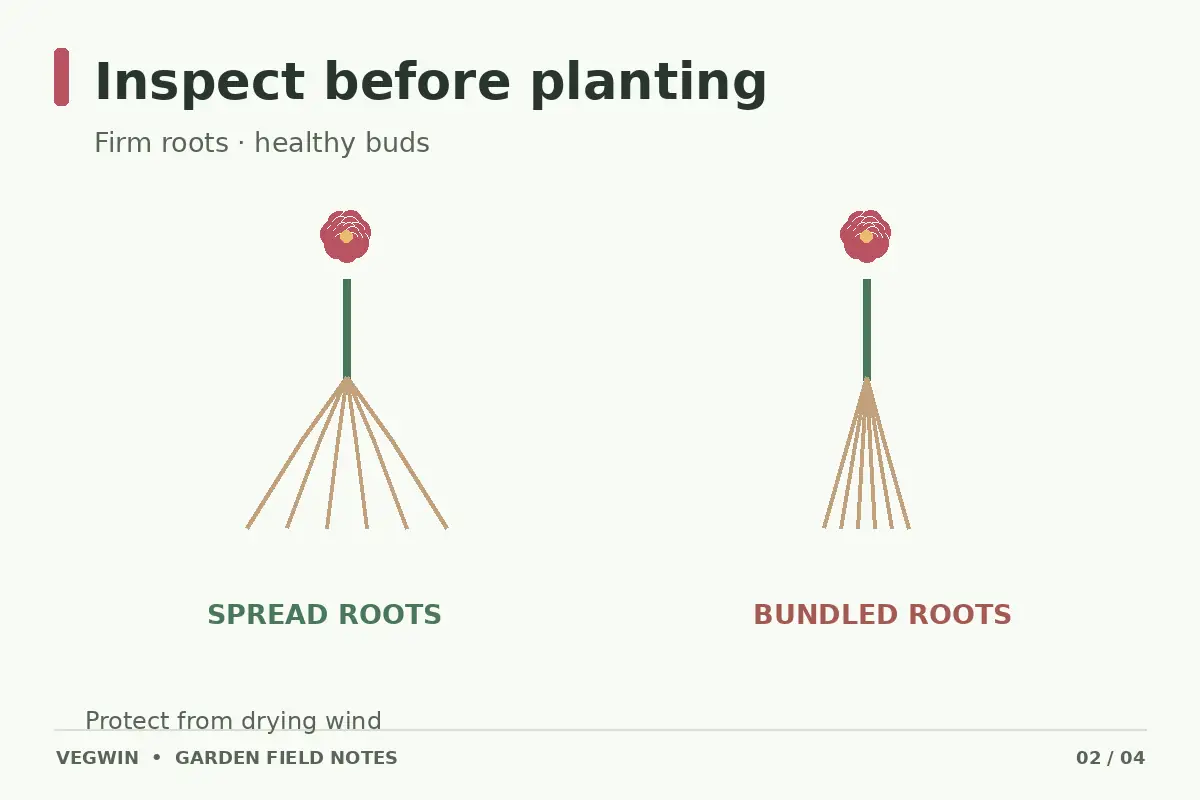
Open the box promptly and inspect both packing material and living tissue. Healthy bare-root rose stock should have roots that feel firm rather than brittle, shriveled, mushy, or sour-smelling. Buds and canes should not show extensive physical injury. Iowa State Extension recommends keeping roots moist and protected before planting, and storing delayed shipments cool without freezing. If the plant is severely damaged or seems decayed, contact the nursery instead of hiding the problem underground.
Do not set a bare-root rose in a sunny doorway while you prepare your tools. Bare roots have no soil reservoir to buffer heat and drying wind. Keep them wrapped in their damp packaging, and avoid letting the package become waterlogged. A short delay for suitable ground is preferable to pressing roots into frozen, saturated soil. Check local conditions and the nursery’s instructions before deciding on an exact planting day.
Choose the planting site before digging
Roses typically need ample light, good air movement, and soil that drains rather than staying waterlogged. Check for shade cast by buildings and established trees once foliage fills in. Also consider where you will work around the plant to water, inspect canes, and prune in later seasons. A site crowded by large roots or positioned under roof runoff can make establishment harder even when the planting technique is perfect. For the basics, see our guide: When to Prune Roses.
A soil test is useful if you have known nutrient or pH problems, but do not use an unverified fertilizer dose as a substitute for diagnosing the bed. In heavy or persistently wet ground, improve drainage or choose a better spot before planting. A planting hole cannot transform an unsuitable site into a healthy rose bed by itself. Aim for an environment where a wide, expanding root system can grow into surrounding native soil.
Identify grafted stock and local depth guidance
Look near the junction of canes and roots for an enlarged knobby area indicating a graft or bud union. Own-root roses do not have the same grafted joint. Depth guidance is location-sensitive: Colorado State University recommends setting graft unions below grade for its cold climate, while Clemson Extension describes a graft union just above the soil line in its regional guide. Do not average those instructions into an invented universal measurement.
Consult your local Cooperative Extension and the grower’s cultivar instructions before marking the finished soil line. Winter protection, rootstock, climate and planting material affect the decision. The illustrations here deliberately show a movable soil line rather than assigning the same depth to every garden. If you do not know whether your rose is grafted, identify the plant before attempting to bury or expose an uncertain swelling.
Spread the roots over a broad soil mound
Prepare a hole broad enough that roots can point outward without being curled tightly against the sides. A low mound of native soil in the center supports the rose while roots drape around it. Iowa State and Clemson both describe keeping roots comfortably spread rather than folded upward. Remove clearly broken or damaged root pieces with clean tools; avoid shortening every good root merely because it looks uneven.
Hold the plant at its planned final height as you backfill. Work native soil around the spaces between roots and gently settle it with water. Do not hammer or compact the soil so hard that you exclude all air. Recheck the depth after watering because loose backfill can settle. If the joint has sunk below the locally recommended level, correct it promptly while the plant is still easy to reposition.

Water the root zone and protect new shoots
Water thoroughly after planting to settle contact between roots and soil. Then monitor how quickly the root zone dries, balancing moisture against the risk of constantly wet ground. Bare-root plants have fewer functioning roots than an established bush, so they need particular attention while leaves develop. Moisture conditions depend on weather, soil texture and drainage; there is no safe one-size-fits-all daily number.
A moderate surface mulch layer may reduce evaporation, but keep it away from canes and never bury the plant’s identifying junction under an uncontrolled mound. Protect tender new growth if local forecasts call for late frost. Follow regional Extension advice on cane cutting: severe indiscriminate pruning at planting can reduce the plant’s capacity to establish. Damaged material is different from healthy structural canes.
Delay strong feeding until roots recover
Fertilizer is not a cure for a dry, bare root. Concentrated products placed close to new roots can damage tissue, and existing soils may already contain plenty of nutrients. Clemson cautions against immediate harsh feeding of newly planted bare-root roses. Use a soil-test-based plan once growth is established, and follow any product label rather than improvising ratios or homemade mixtures.
Assess the first flush of foliage and the condition of stems before worrying about flower count. A healthy rose may invest in roots and new canes before offering a full display. Keep weeds from competing near the base, and check for leaf damage with identification rather than automatically spraying. Consistent site care usually matters more during establishment than buying several different fertilizers.

Check settling and growth during the first month
After the first deep watering, stand back and compare the finished soil level with your mark. Recheck after rain, particularly where the backfill was loose. Look for swelling buds and new leaves but avoid repeated tugging on the plant to test whether it has rooted. Inspect the surface soil and a small spot nearby for moisture; do not judge the entire root zone by a dry crust alone.
If canes turn black or collapse, first look for drying, root injury, or cold damage; not every stressed rose has an infectious disease. If growth seems stalled, review what happened during shipment, storage and planting before adding products. Keep a note of rose type, nursery label, union placement, and local weather. That record will be useful if a winter later reveals a climate-related planting-depth mistake.
A quick decision table for the garden
| Point | Check | Response |
|---|---|---|
| On arrival | Roots firm and damp | Keep cool and protected |
| Planting | Root spread and rose type | Check local graft line; spread roots |
| First weeks | Settling and root moisture | Recheck soil line and water as needed |
Related Guides
- How to Identify Aphids on Roses and Control Them Without Harming Allies
- How to Identify Rose Sawfly Larvae and Stop Windowpane Leaf Damage
- How to Identify Japanese Beetles on Roses and Reduce Flower Damage
How We Research and Check This Advice
We reviewed this topic against current university Extension and specialist horticultural guidance on October 22, 2026. The illustrations are original, simplified, not-to-scale teaching diagrams, not photographic evidence. Local weather, cultivar identity and soil conditions can change an otherwise sound practice. This page has no verified paid affiliate partnership. Read our affiliate disclosure.
Research references, checked October 22, 2026: 1. yardandgarden.extension.iastate.edu — Bare-root plant inspection and storage before planting. 2. extension.colostate.edu — Regional graft depth and practical site criteria. 3. hgic.clemson.edu — Different regional graft depth, roots spread over a mound and establishment care.
No. University Extension recommendations vary by winter climate and region; follow local instructions for grafted roses.
If necessary, store them cool and nonfreezing in damp—not soggy—packing material, then plant promptly.
No. Make the hole wide enough to spread roots naturally without sharp bends.
Avoid concentrated fertilizer against new roots; use local guidance and soil testing once established.
Watch for firm canes and expanding buds or leaves while maintaining appropriate root-zone moisture.