
Black-eyed peas are cowpeas, Vigna unguiculata, and their garden calendar is almost the reverse of the familiar cool-season English garden pea. These southern peas grow actively in warmth, making them a useful candidate after an early spring crop finishes. “Black-eyed” refers to a familiar seed appearance, but seed catalogs may list the same crop among field peas, pinkeye-purple hulls or cowpeas. The first decision is to buy a variety whose growth habit and harvest style suit your space, not simply a packet called peas.
A second decision changes the whole harvest: some gardeners want tender immature pods, others fresh shelled peas, and others fully dry beans for later cooking. Those stages are different and should not be mixed. Oklahoma State University explains the broad southern pea group and how its legume biology affects fertility, while Clemson Extension gives practical guidance on warm-soil planting. The workflow below starts with climate fit, then pairs variety habit with the harvest stage you actually want. For the fuller picture, see our guide to growing green beans.
Choose cowpea habits to fit the planting space
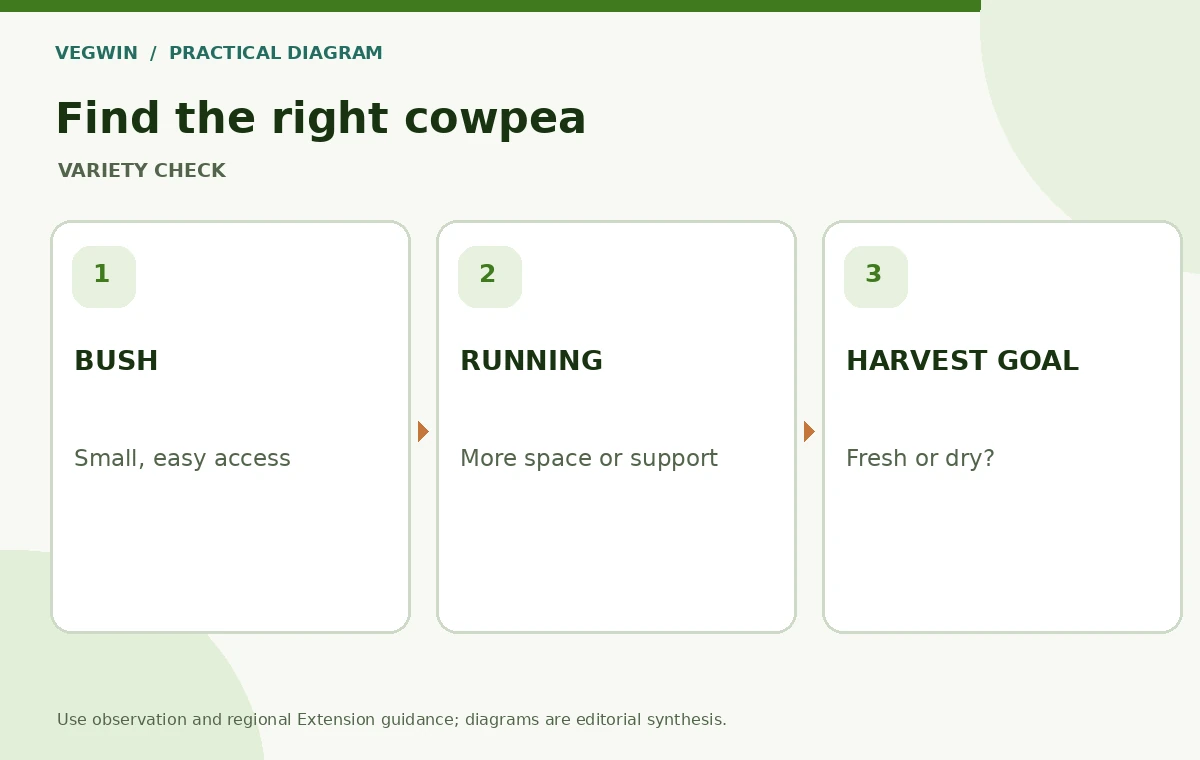
First distinguish the pea type. A black-eyed pea or southern pea is not Pisum sativum, the English pea often planted in cool spring weather. Within cowpeas, varieties may form relatively compact bushes, semi-running plants or long vines. Check the supplier’s cultivar description for mature habit and days to harvest rather than assuming every cowpea fits a short row. Bush forms simplify small-bed harvesting, while running types require additional aisle clearance and sometimes support; sprawling vines should not overrun neighboring crops.
Decide whether you are harvesting fresh-shell peas or dry seed before choosing a variety. Some produce a concentrated flush of pods, while others are picked in stages. If the goal is dry seed, leave space and time for pods to finish ripening without crowding. If the goal is fresh shelling, you may prefer access from both sides of the planting. Record the variety and its known pod color changes so you can distinguish actual harvest readiness from leaf yellowing due to stress or disease.
Wait for a genuinely warm planting window
Southern peas prefer warmth. Clemson Extension notes that warmer soil supports good emergence and that sowing into cool soil increases the risk of poor stands. Use local last-frost guidance, actual soil conditions and a regional southern-pea calendar rather than borrowing the planting dates for English peas. A cold wet bed can delay germination and rot seed even when a warm afternoon feels like summer. Where spring stays cool, it may be more productive to sow after the earlier cool-weather greens have finished. Our guide to growing okra adds more detail on this.
Sow into moist, prepared soil at a depth and spacing supported by the specific local Extension guide and seed type. Do not squeeze a running cowpea into bush-variety spacing simply because your trellis is available. Mark rows and keep surface moisture from swinging between flooding and a hard crust during emergence. If gaps appear, check seed quality, cold exposure, crusted soil and animal disturbance before reseeding the whole plot. Plant an extra short observation row first if this is your first season with cowpeas. Our walkthrough on how to grow snow peas from seed with a simple trellis sets out each step.
Support steady growth without overfeeding
A cowpea is a legume that can host nitrogen-fixing bacteria in root nodules. Oklahoma State explains that proper nodulation depends on suitable rhizobia; being a legume does not mean every plant will fix an unlimited amount of nitrogen in every soil. Fertilizer recommendations should start with a soil test and local guidance. Excess nitrogen can favor leafy growth over pods, especially in already fertile garden beds. Do not apply a standard all-purpose feeding schedule just because leaves look vigorous.
Keep young stands weeded with shallow cultivation so you do not cut developing roots. Water as needed to maintain a functional root zone, with special attention during flowering and pod development; dig down to check moisture instead of measuring irrigation only by hose-running time. Mulching may help hold moisture once the soil is warm, provided material is clean and not contaminated by herbicide residues. Watch for damage near flower buds and pods but identify insects before any intervention.
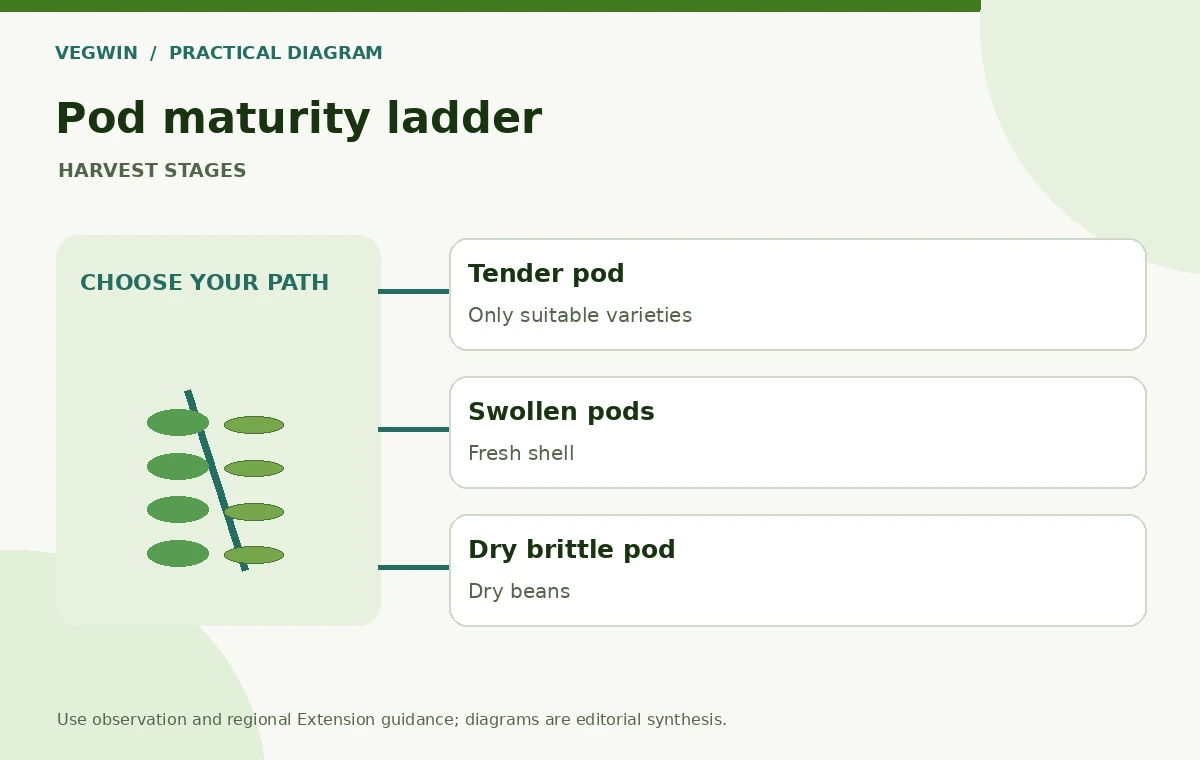
| Pod stage | Typical goal | Immediate postharvest step |
|---|---|---|
| Immature tender pod | Snap only if cultivar suits | Harvest frequently |
| Plump green or colored pod | Fresh shelled cowpeas | Shell and chill promptly |
| Brown fully dry pod | Dried beans | Dry thoroughly before storage |
| Moldy or damaged pod | Not a food harvest | Discard suspect material |
Match picking to fresh or dry use
For fresh shelling, observe the pods as seeds swell, then pick at a stage when the peas are developed but have not dried hard. Colors and textures vary by cultivar; local Extension descriptions and a sample opened pod are more reliable than a universal pod color. Shell promptly and cool the harvested peas. For dry seed, allow pods to mature and dry as far as weather permits, then finish drying in a protected clean, ventilated place. Do not store damp beans in an airtight jar. To go further, our guide to growing peas shows how to choose snow, snap, or shelling and pick them right.
If you are tempted to eat young whole pods, verify that your specific cowpea cultivar is appropriate for snap-pod use; not every southern pea is selected for tender whole-pod eating. Inspect harvested beans for insects, mold and damage, and discard suspect batches rather than attempting to rescue them through cooking. Cowpeas intended as dry beans must be cooked properly before eating; home drying or ordinary boiling is not equivalent to a tested shelf-stable canning process. For canning, follow an approved USDA or NCHFP method, not garden-blog guesswork. For a step-by-step method, see how to grow jicama.
Recognize stress before choosing a treatment
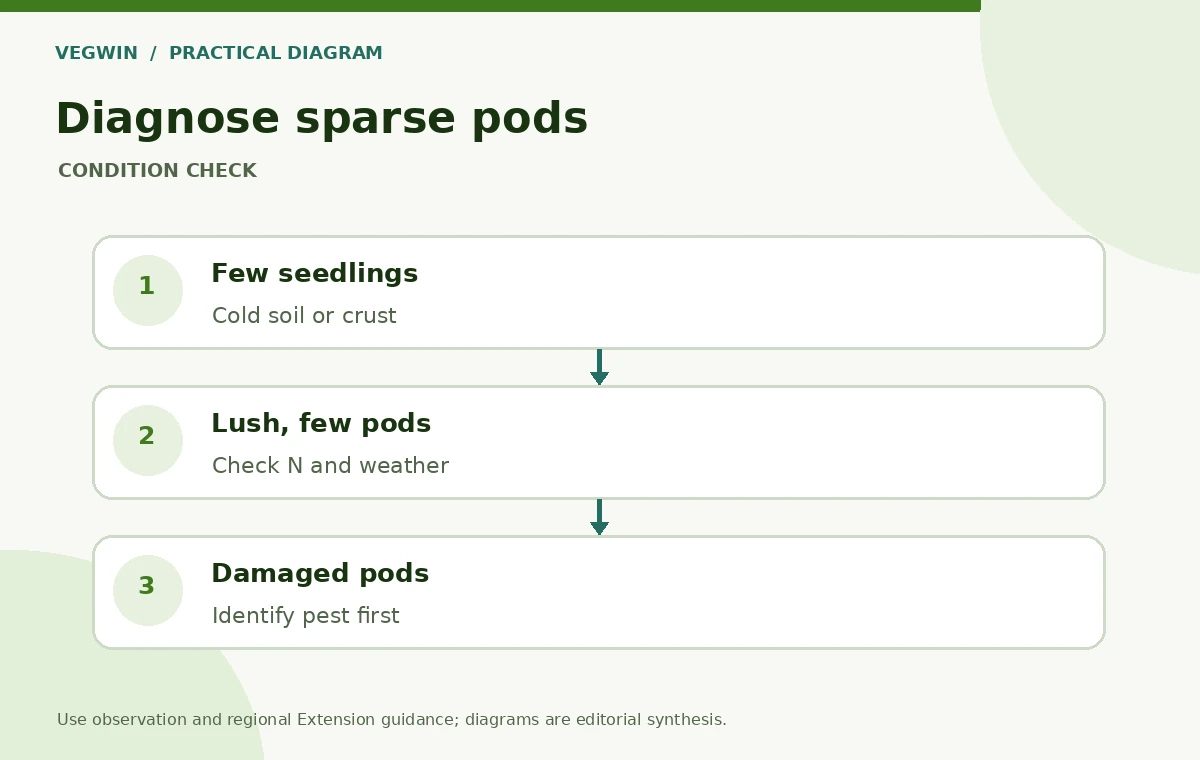
Sparse seedlings after a cold sowing often reflect emergence conditions, whereas otherwise vigorous plants with few pods may reflect variety timing, heat or watering stresses during bloom, or nutrient imbalance. Do not assume that an insect killed every missing pod. Examine several plants for flower and pod development and compare soil moisture. A cowpea can tolerate warm conditions, but heat tolerance does not mean an unlimited ability to produce under drought or repeated root-zone flooding.
Look closely for actual pests and distinguish chewing, sucking-insect damage and foliar disease. Remove heavily diseased residues and rotate unrelated crops where practical, but avoid promising that short rotations in a tiny bed completely remove soilborne problems. Treating without confirming the pest risks harming beneficial insects and wastes money. For any chemical consideration, check the exact vegetable crop on the current label and consult your state Extension; this guide deliberately gives no treatment rate or improvised mixture.
Use a small harvest log to improve the next crop
A single plant can tell you little about yield. Make a simple record with cultivar, sowing date, date of first flowers, fresh or dry harvest goal, number of pickings and weather disruptions. Compare actual edible beans harvested with bed area rather than estimating success from dense foliage. When an early sowing fails, do not automatically increase fertilizer. First check whether the soil was warm and whether moisture, seed age or crusting prevented emergence. If you are starting from scratch, read When to Harvest Cowpeas for Fresh Shelling or Dry Storage.
Once the last dry pods are gathered, clean up remaining plant residue responsibly and plan a follow-on planting based on your local season. Nitrogen fixation by a legume is not a promise that the next crop requires no nutrient testing. If you save seed, separate clearly labeled, healthy dry seed from food harvest and protect it from moisture and insects. A reliable warm-season cowpea planting can become a useful part of succession plans, but only after its actual performance has been measured. Our guide to growing fava beans adds more detail on this.
Related Guides
How We Research and Check These Decisions
Source review: October 20, 2026. This article was prepared after checking the primary university publications: Oklahoma specialist source; Clemson specialist source; UF/IFAS specialist source. Web search was reviewed for topic relevance, but a complete authenticated inventory of live VegWin WordPress URLs was not available; this limits the cannibalization assessment. Diagrams and decision matrices are our original synthesis, not experimental results. Recheck your region, cultivar, soil, live source changes and current rules before manual publication.
Disclosure: No sponsorship, affiliate approval, merchant link or /go/ route is claimed for this article. The three buttons link to independent educational sources, not affiliate offers. Read our affiliate disclosure; verify that the policy page exists on the live site before publication.
No. Black-eyed peas are warm-season cowpeas, unlike cool-season English garden peas.
Avoid cold-soil sowing. Use your regional frost and soil-temperature guidance for a warm-season crop.
They may form nitrogen-fixing nodules, but soil and bacteria vary. Use soil-test guidance rather than an automatic fertilizing schedule.
After the seeds mature and pods dry, then finish drying securely before clean, moisture-protected storage.
No. Use a tested USDA or NCHFP pressure-canning process for the appropriate bean product, or preserve by another safe method.