
A battery-powered hose timer can make a vegetable garden seem self-managing. It opens a valve on schedule, but it cannot tell whether an emitter is blocked, a container has dried out, or rain already soaked the bed. A timer is a control device, not a substitute for choosing an appropriate amount of water. Successful automation begins with a simple flow test and several checks in the soil where roots are growing.
Oregon State University Extension describes a typical low-flow system sequence that includes a timer, backflow protection, pressure management and a filter, followed by experiments to establish run time and frequency. Minnesota Extension cautions against leaving an automatic schedule unchanged regardless of weather. Put those together and the setup becomes practical: check hardware, observe dripper delivery, start conservatively, inspect the wetted zone and revise the program.
Check the system before programming its first cycle
Trace the route from water source to plant roots. Oregon State Extension identifies timer, backflow prevention, pressure regulator, filter, supply tubing, emitters and end cap as key elements of a basic spigot-fed system. Follow the exact specifications for your timer, regulator and local plumbing requirements: some components have required orientations or connection order, and a filter may be integrated with another device.
Open the water manually and look for leaks, pinched tubing, detached fittings, blocked emitters and end caps that leak. If plants are on differing levels or the line is very long, water delivery may vary across the bed. Correct those problems before choosing a schedule. A timer cannot compensate for a plugged nozzle by simply running longer; the extra time may overwater plants receiving normal flow.
Measure emitter output and wetting in the real bed
The label on a dripper provides useful nominal flow, but actual delivery can differ because of pressure and installation. Run the system for a measured interval, collect output from representative emitters when feasible, and inspect how far water spreads through the planting mix. Check the first and last plant on a run. An emitter making a wet circle at the surface does not prove that deeper roots have received adequate water.
Avoid using an exact runtime copied from another garden without checking emitter spacing, soil texture, mulch, root depth and weather. Water may spread differently in sandy soil and clay, and a newly planted seedling has a shallower active root zone than a mature tomato. An initial runtime is therefore a testable starting assumption. Your field observation is what turns that assumption into a workable program.

Program one baseline cycle you can verify
Select a timer schedule that you can observe over several runs. Early morning is commonly useful because conditions are cooler and wind often lower, although site circumstances differ. Start with a frequency that reflects plant needs and local rainfall rather than using a daily default by habit. Record the programmed start time, cycle length and active days, then test that the valve actually opens and shuts.
If your timer offers multiple zones, label which bed each zone controls. Keep the programs simple enough that someone else can understand them when a battery fails or travel changes the schedule. A short manual-run test is useful after installation, after replacing batteries and after winter storage. Consult the manufacturer’s manual for programming and freeze-protection details instead of assuming the buttons work like those on a different controller.
Inspect soil below the surface after watering
After a programmed cycle, check soil several inches deep where active roots are expected, using a trowel or suitable probe without injuring major roots. The useful question is whether moisture reached the intended root zone, not whether the mulch looks dark. Water running off, puddling or a constantly saturated lower layer suggests a problem. Dry soil beside an emitter may mean placement, duration or soil structure needs adjustment.
Compare at least two locations in each bed, particularly near the end of a drip line and around demanding crops. New transplants often need more frequent observation than established plants. If moisture has reached only a thin surface layer, test a longer cycle or emitter placement; if it remains wet far too long, reduce frequency or inspect drainage. Make one schedule change at a time so you know what improved the result. Our walkthrough on how to set up drip irrigation for hanging baskets and test each pot sets out each step.

Adjust for rain, heat and growth stage
Minnesota Extension emphasizes changing automatic irrigation plans to match weather rather than keeping a fixed setting all season. Following a meaningful rain, inspect soil and pause the controller when watering is unnecessary. During hot, dry wind, the same garden may use water more quickly, while cooler weather can sharply reduce demand. Root systems also change as crops establish and grow. To go further, our guide to how often to water a vegetable garden shows how to check roots, rain, and weather.
Rain-skip functions and soil sensors can help, but each accessory must be set up and checked. A rain sensor mounted under an overhang will not represent the open bed; a failed sensor can also leave a system running or off unexpectedly. Think of the program as a repeatable hypothesis that soil checks continually verify, not a promise that every crop needs identical watering forever.
Keep a simple maintenance and failure checklist
Inspect the filter, tubing junctions and emitters on a recurring schedule. Debris can reduce flow even when the controller displays a normal countdown. At the end of a drip line, an unexpected gush may indicate a missing cap, while a dry plant near a wet neighbor may have a blocked or displaced emitter. Correct the hardware cause before increasing total system duration. Our guide “Gravity Drip Irrigation From a Rain Barrel” shows how to test flow before expanding.
Test batteries and recheck the clock after power interruptions or seasonal time changes. For cold-climate installations, winterize the system according to manufacturer directions and local conditions so trapped water does not damage valves and fittings. Keep backflow prevention in compliance with local requirements. A good irrigation system is not one that runs without inspection; it is one that makes water delivery predictable and easy to verify.
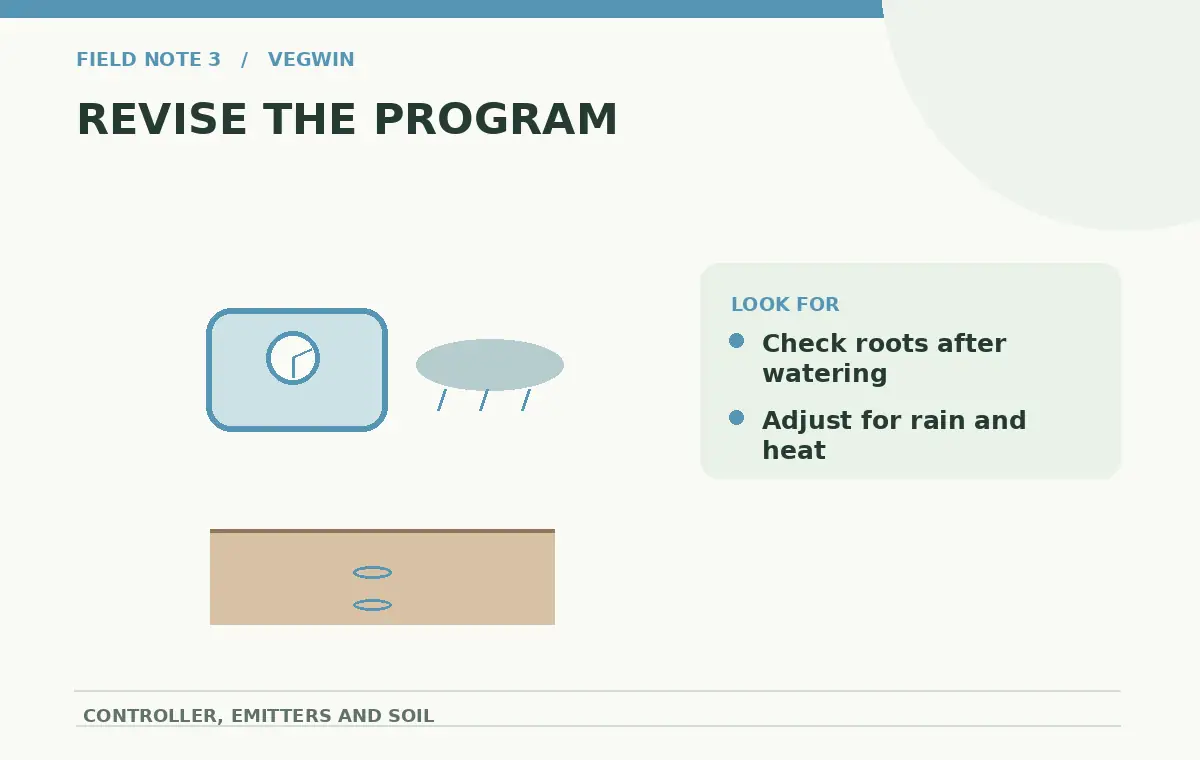
Use measured problems to choose the next correction
If every plant is too dry, first ask whether the valve actually opened, then whether the emitter flow and schedule were adequate. If only one corner is dry, suspect pressure distribution, a plugged outlet, or the position of drip tubing. If roots stay soggy despite modest watering, investigate drainage or runoff from another source. Separating distribution failures from scheduling failures prevents unnecessary equipment purchases. Our guide “Raised Bed Drip System” goes into more detail.
Finally, write the schedule and last test date on a weatherproof card or in a garden notebook. Recheck whenever plants grow substantially, a line is expanded, a bed is replanted or the weather changes. This turns a timer from a guess-and-forget gadget into an accountable watering routine guided by the plants and soil themselves. For the fuller picture, see our guide “Set Up Soaker Hose Irrigation and Test for Even Root-Zone Watering”.
Decide What to Do With This Comparison
| Condition | Next step |
|---|---|
| All emitters run but soil stays dry | Recheck flow, runtime and rooting depth |
| One plant stays dry | Inspect emitter placement, clogging and pressure |
| Soil remains wet after rain | Pause or reduce cycles; check drainage |
| Timer shows a program but no water flows | Check batteries, valve, supply and controller manual |
How We Research and Verify Garden Advice
This guide was checked on October 22, 2026 against horticultural recommendations from Oregon Extension or RHS guidance and the independent references listed below. We distinguished general plant biology from regional calendars, variety differences and decisions requiring local inspection. The diagrams are original simplified educational illustrations, not exact measurements of specific cultivars. Recommendations should be compared with your regional Cooperative Extension office before substantial pruning, planting or water-system changes.
Sources checked: Oregon State Extension outlines a garden drip setup with timer, backflow prevention, regulation, filter and a test of runtime and frequency.; Minnesota Extension advises against unchanged automatic schedules and recommends actual performance checks.; Minnesota Extension emphasizes weather, soil condition, and watering in ways that reduce evaporative losses..
Editorial disclosure: This is an informational gardening guide. No paid product endorsement or affiliate partnership is claimed. Read the affiliate disclosure for the site-wide policy.
There is no universal answer. Measure output and confirm moisture at active root depth for your soil, crop and layout.
Not automatically. Watering frequency depends on root needs, soil moisture, rainfall and weather.
A common hose-spigot layout places the timer near the supply before the downstream protection and distribution components, following product and local plumbing instructions.
No. Sensors and weather data can reduce waste but require correct installation and periodic verification.
Pressure loss, clogs, leaks or emitter spacing may be responsible; test flow at both ends before changing the whole schedule.