Starting seeds indoors lets you grow particular vegetable varieties and plan transplants for your own season, but more weeks under a lamp do not automatically produce better plants. Successful timing depends on a specific crop, its expected outdoor planting window, clean containers, moisture with oxygen, and gradual acclimation to sun and wind. This guide covers the whole pathway from seed packet to planting out. It intentionally differs from a guide devoted to grow-light equipment: here the core decision is which seeds to start, when to sow them, how to avoid root and disease problems, and when a seedling is genuinely ready to leave the house.
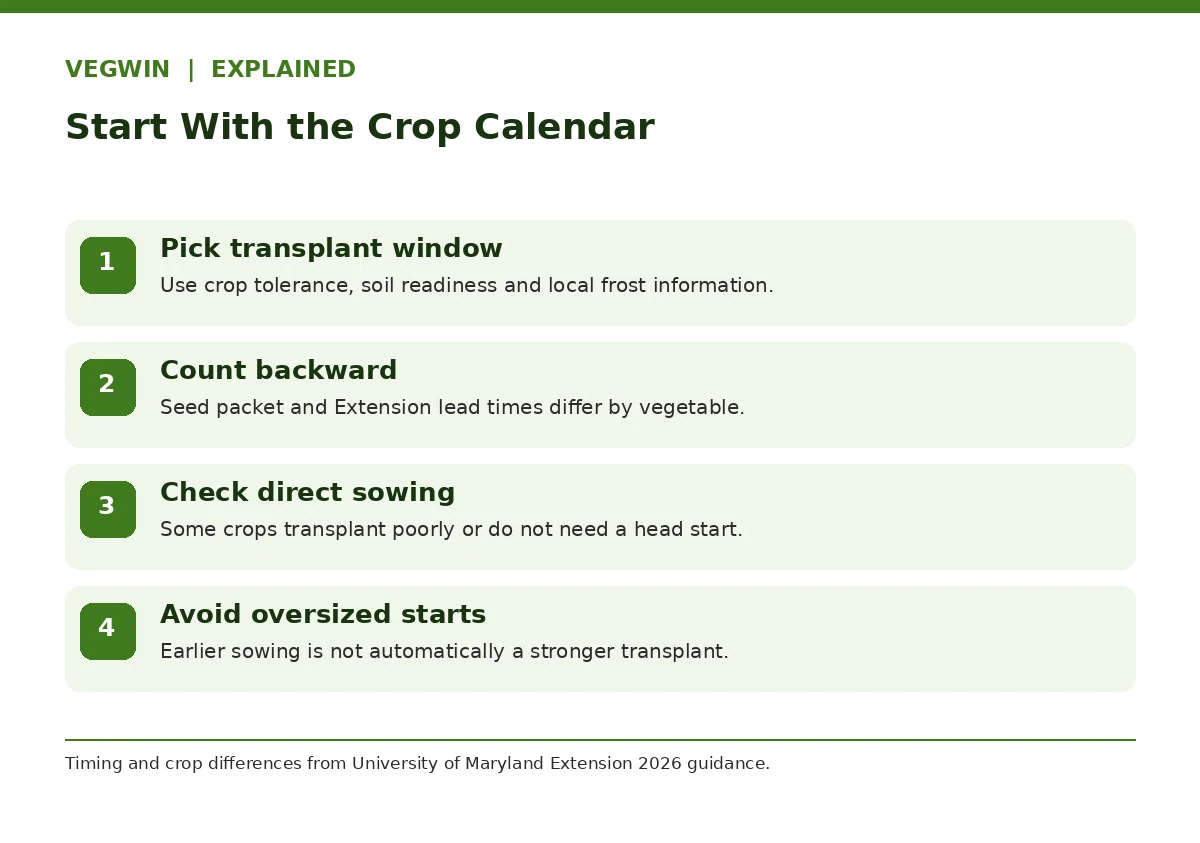
Work Backward From Your Outdoor Planting Window
Start with a regional transplant window suitable for the crop, not with the date you bought seeds. Local frost risk, soil conditions and cold tolerance matter. Maryland Extension’s August 2026 guidance gives different approximate indoor lead times for leafy greens, tomatoes, peppers, brassicas and other crops. Use its crop-specific schedule as a reference, then cross-check local Extension recommendations and the variety packet. USDA hardiness zones summarize winter cold hardiness and are not annual seed-starting calendars.
Sowing too early often leads to overgrown plants with tangled roots that wait unhappily for the garden to warm. Some vegetables such as beans or corn are often more practical direct-sown, depending on region and season; cucurbits may be started for relatively short periods but dislike root damage. Make a simple chart with crop, expected outdoor date, weeks indoors and sowing date. If an unusual spring pushes the outdoor date later, judge actual plant condition before keeping a seedling in a tiny cell indefinitely.
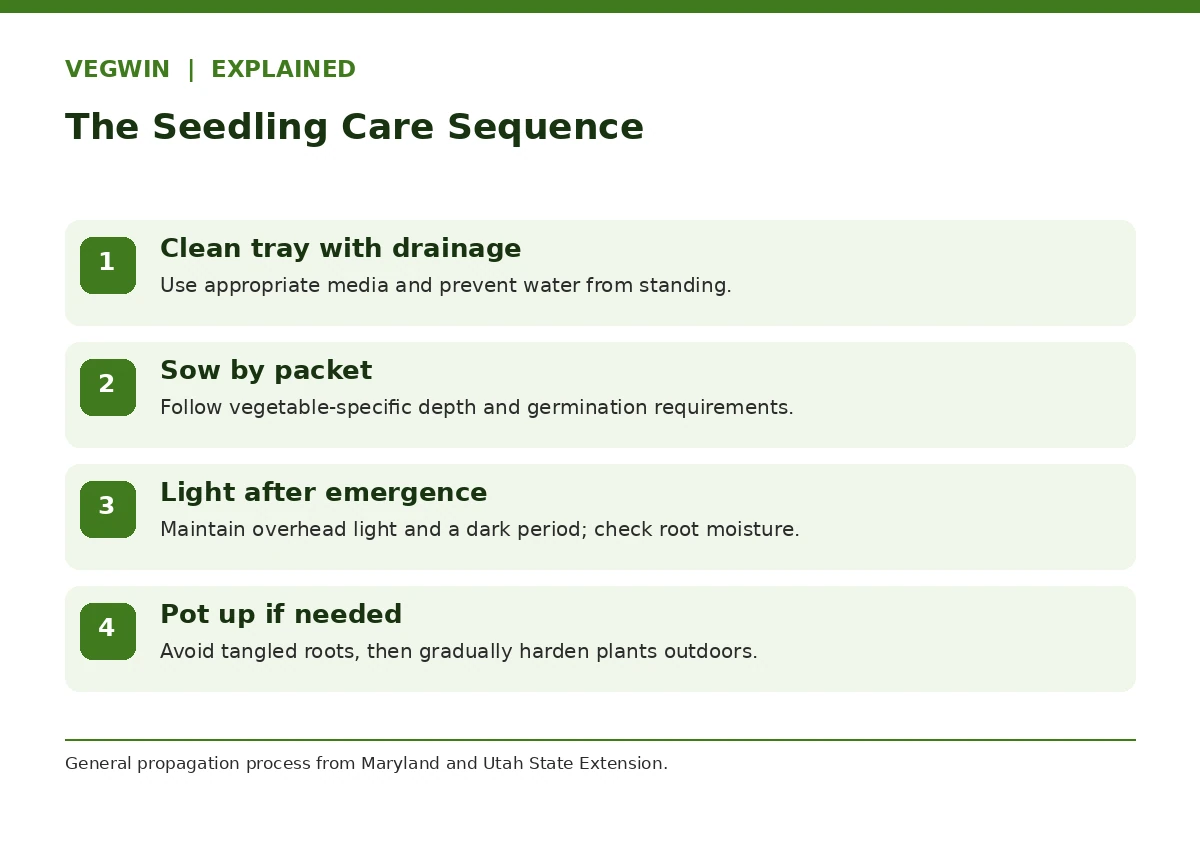
Choose Clean Trays and Seed Starting Mix
Use a clean container with drainage holes and enough depth for the intended seedling stage. Maryland Extension describes cell trays as a practical way to keep young roots separated. A solid tray under cells can catch runoff but should not hold the containers in stagnant water all day. A fresh, fine-textured seed-starting medium usually provides more consistent moisture and aeration than heavy garden soil, which may compact or contain disease organisms. Read container and substrate labels rather than selecting by a marketing claim.
Reused pots should be cleaned and sanitized according to university and product guidance before sowing. Minnesota Extension discusses disinfection of reused cells to reduce disease carryover; do not improvise concentrations from memory. Label each row before planting because vegetable seedlings can be difficult to identify later. Wet the growing medium as directed before filling cells, but do not squeeze all air from it. Prepare room for each crop’s eventual larger container or planting space rather than starting more seedlings than you can actually maintain.
Sow at the Depth the Packet Specifies
Seeds differ in size and light requirements; there is no perfect universal depth for vegetables. Follow the seed packet or a species-specific Extension table, cover lightly only when directed, and keep the surface consistently moist through germination. Seed coats absorb water as the embryo begins growth, so an interruption in moisture can damage a germinating seed. Too much water, however, deprives roots and seedlings of oxygen. Maryland recommends moisture without saturation and explains both top watering and careful bottom watering.
A clear dome may maintain humidity before emergence, but remove or vent it according to seedling-care guidance once plants appear. Extended closed humidity can encourage damping-off. Germination temperature requirements vary by crop; a heat mat can help where the room is cool, but it should not be treated as a permanent plant-care setting. Place emerging seedlings under adequate overhead light promptly. The right time to adjust the environment is at emergence, not after long stems have stretched toward a window.
Care for Roots Leaves and Airflow
Strong seedlings require adequate light, moisture, air movement and enough root space. Position lights using the fixture instructions and university guidance instead of assuming that a single distance works for every LED. Avoid running seedlings under lights without a dark period. Maintain moisture by checking cells, especially along tray edges, but allow drainage after watering. Maryland Extension warns that saturated media can promote damping-off organisms and oxygen deprivation. Watch the stem base for collapse; that is not automatically a sign that the lamp is too weak.
As seedlings grow, thin crowded cells where appropriate by snipping extra shoots rather than pulling roots out of a shared space. If roots circle the cell or the shoot becomes too large before outdoor conditions are ready, potting up may help for crops that tolerate it. Use a compatible potting medium and handle roots gently. Utah State Extension emphasizes the culture between emergence and transplanting, including airflow, nutrition and hardening off. Fertilizer decisions should follow the medium composition and credible crop-specific advice, not an invented dose.
Identify Seedling Problems Before Reacting
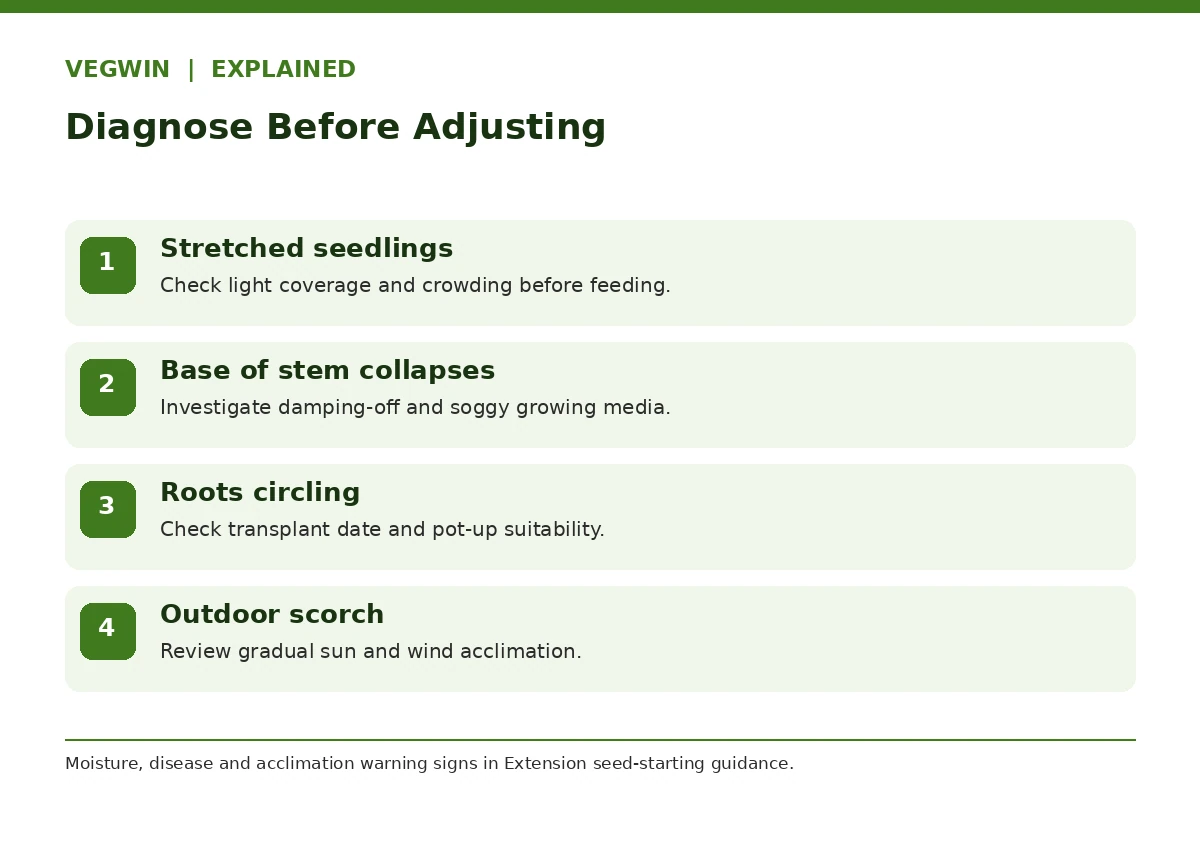
Long, pale leaning shoots often suggest insufficient or uneven light, but a wilted seedling may have dry roots, saturated roots, heat stress or disease. Sudden collapse at the soil line suggests investigating damping-off and sanitation before adjusting illumination. If only one end of a tray performs poorly, check watering patterns and light coverage there. If every pot appears stalled, recheck room temperature, medium drainage and sowing depth for the actual crop.
Do not respond to every symptom with stronger fertilizer or a new product. Compare unaffected and affected cells, photograph the progression and remove severely diseased seedlings when Extension diagnosis supports doing so. Seedlings near windows can experience cold drafts, while a heat mat left operating after emergence can make conditions unsuitable for some species. The useful question is what changed: water, temperature, root zone, airflow or light. Make one correction at a time and reassess rather than changing every variable at once.
| Observed situation | Investigate first | Do not assume |
|---|---|---|
| Leggy seedlings | Light coverage, sowing timing and crowding | Extra fertilizer solves weak stems |
| Seedling collapses at stem base | Overwet media and possible damping-off | More light treats disease |
| Roots crowd or circle cells | Appropriate pot-up and planting timing | More time in a small tray is harmless |
| Leaves scorch after moving outdoors | Hardening-off process and wind/sun exposure | Indoor-grown plants are already acclimated |
Harden Off Before Planting in the Garden
Indoor leaves and stems are not conditioned to outdoor wind, intense sun and daily temperature swings. Minnesota Extension recommends gradual hardening off over roughly two weeks, beginning with short sheltered periods outside and progressively increasing exposure when weather allows. Bring plants in when conditions turn dangerously cold for the crop. Shade, mild afternoons and wind protection make the early stages less stressful than moving the entire tray straight into full midday sun.
Transplant only when the crop can tolerate the forecast weather and the soil is appropriate. Hardened seedlings may still need careful watering after planting. Avoid burying delicate crowns of crops that are not tomatoes simply because a tomato transplant can sometimes be set deeper. Watch roots and stems during removal from reusable pots. If an unexpected freeze is forecast, postpone tender transplants. The seedling’s calendar age is less important than its healthy growth and genuine outdoor readiness.
Keep a Simple Propagation Record
Write down sowing date, seed variety, expected outdoor planting date, observed emergence and the date of any potting up. Record when the hardening-off process began, plus any recurring problems. This small log separates a poor seed lot from waterlogged media and tells you whether you routinely start a certain crop too early. It also prevents overproduction: if your garden fits six tomato plants, raising sixty without a sharing plan is more work than an advantage.
For your next round, compare the plan with results and adjust only the crop that needed adjustment. Seed-starting media, planting dates and cultivar recommendations can change with region and weather. Consult local Extension information each season and treat manufacturer equipment instructions separately. After transplanting, continue reading crop-specific outdoor guides; a tray of healthy seedlings does not replace a full tomato, brassica or lettuce management plan.
How We Research and What Could Change
We compared current and historical Cooperative Extension, university food-preservation, and public-agency instructions relevant to the specific decisions in this guide. References were checked on October 19, 2026. The diagrams are our original summaries of those sources, not photographs of tested procedures or results from a VegWin field trial. This article does not replace a local crop calendar, food-safety protocol, laboratory analysis, or manufacturer instructions. Local climate, crop cultivar, packaging and equipment, and new official guidance can change your safest choice.
Research references: [1] Maryland Extension [2] Minnesota Extension [3] Utah State University Extension
Disclosure: This guide contains no sponsored recommendations, affiliate commissions or paid endorsements. See VegWin affiliate disclosure; the site owner must confirm that page is reachable before manual publication.
It depends on crop and region. Maryland Extension provides examples from a few weeks for greens to longer periods for peppers and onions; verify locally.
A clean seed-starting medium usually provides better uniform moisture and aeration; garden soil may compact and carry pathogens.
Light requirements for germination vary by species. After emergence, strong overhead light is generally important for vegetables.
Possible damping-off and excess water deserve investigation. Do not automatically call it a lighting or fertilizer problem.
Gradually acclimating plants to outdoor sun, wind and temperature swings reduces transplant shock and leaf injury.