A home compost pile is a managed habitat for decomposers, not a garbage heap that automatically turns into garden soil. Microorganisms need carbon-rich material, nitrogen-rich material, oxygen and water. When one is missing, a pile can sit unchanged, smell bad or attract animals. This guide turns those four conditions into a repeatable set of decisions: what to add, what to avoid, where to place the pile, how to troubleshoot it and when the compost is truly ready. It assumes an ordinary backyard vegetable-garden compost system, not a commercial hot-compost operation or specialized manure treatment.
Choose a Pile Location You Can Manage
Select an accessible, well-drained spot where you can carry scraps and turn materials without standing in garden beds. Iowa State Extension notes that sun and shade can both work; hotter sunny areas may dry more quickly, while shaded sites may stay moist and decompose more slowly. Think about water access, neighbors, pets and the space needed to move material from an active pile into a curing pile. A lidded bin may help contain scraps, but it still needs enough ventilation and maintenance.
Make sure the system fits your household volume. A tiny handful of peels in a huge open enclosure may not heat or decompose quickly, and that is not proof the process has failed. An active pile with sufficient mass may generate heat, while a small or cool managed pile can still decompose more slowly. Check local municipal rules if you live in an area with restrictions on backyard bins or organic waste. Never place a pile where runoff can wash scraps into a waterway.
Balance Browns Greens Air and Moisture
Browns such as dry leaves, straw, uncoated shredded cardboard and small untreated woody pieces supply carbon; greens such as vegetable scraps, grass clippings and fresh plant waste provide nitrogen. EPA and Iowa State identify a practical mix of these categories rather than a precise kitchen-scale recipe. Mix or layer them so air reaches the interior. A mass of wet grass alone can mat and turn smelly, while a pile of dry leaves alone breaks down slowly. Adjust by observed texture and smell.
Moisture should resemble a wrung-out sponge, not a wet slurry. If dry fragments barely change week to week, add water while mixing. If water squeezes out in a stream or liquid collects below the bin, add dry coarse browns and turn the heap to restore air. The pile’s biology uses oxygen; repeatedly compressing it or allowing standing water slows useful decomposition. Keep a stockpile of dry leaves so you have a simple correction ready when new kitchen scraps are very wet.
Keep Unsafe or Problematic Inputs Out
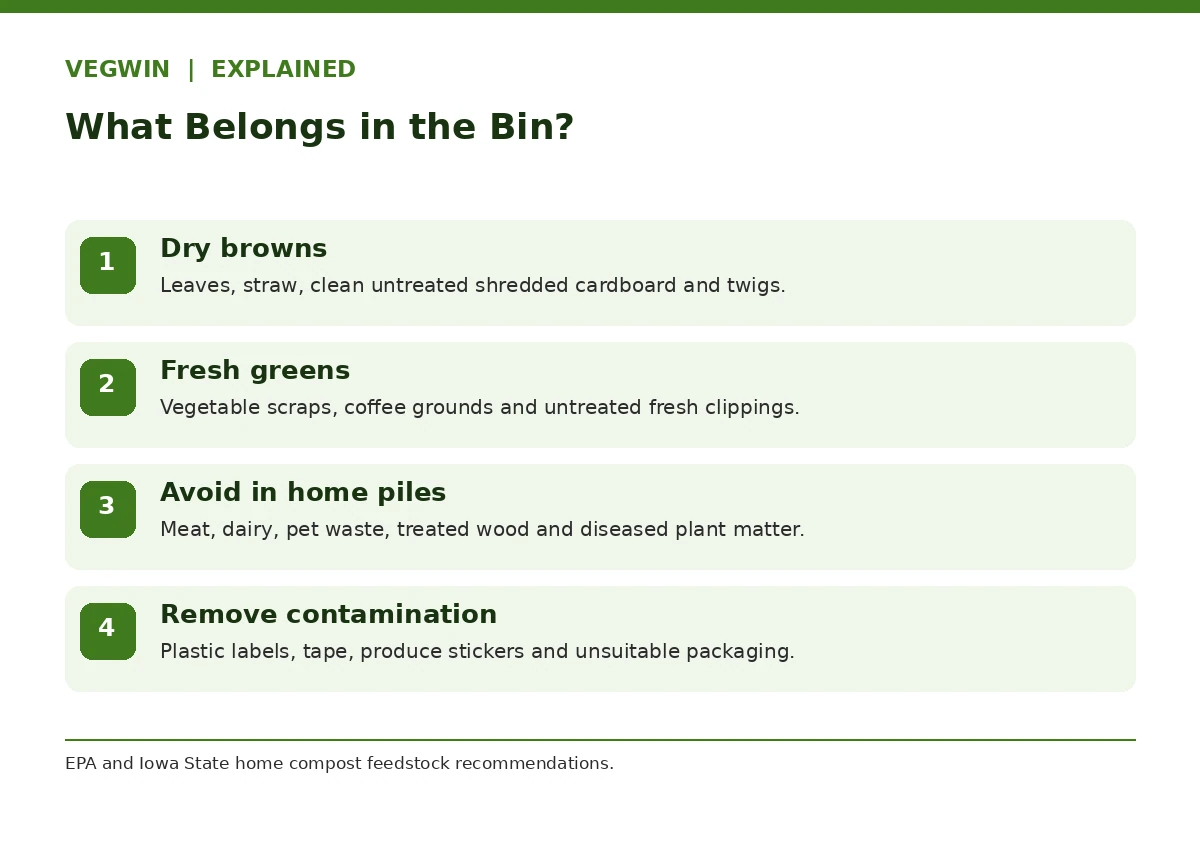
For an ordinary backyard system, avoid meat, fish, bones, dairy, fats, pet feces, cat litter, treated wood, glossy products, and material contaminated with herbicides. EPA also lists seeded aggressive weeds, diseased plants and pest-infested plant material as poor additions to typical home piles. Some specialized managed facilities can handle different feedstocks, but a home pile rarely offers the verified time-and-temperature control those facilities use. The safe default is to use the conventional approved materials.
Remove produce stickers, plastic wrapping and noncompostable tea-bag parts. If you collect grass clippings, ask whether lawn herbicides have been applied and follow local university advice before adding any treated material. A pile getting warm in the center does not guarantee every scrap at the edges reaches pathogen-killing temperatures. Do not assume that adding more fertilizer, lime or a store-bought starter will solve an unsuitable input. Keep food scraps buried inside the pile and cover with browns to reduce animal interest.
Build a Pile and Check It Weekly
Begin with a loose structure that permits air. Alternate or mix suitable greens and browns and moisten dry material as you build, without packing it tightly. Iowa State discusses workable pile dimensions for effective heating, but your available inputs matter more than hitting a target with empty space. Position fresh vegetable scraps near the middle and cover them with leaves. Keep a fork or scoop nearby so new additions can be mixed in promptly rather than sitting exposed on top.
Once a week, check three signals: moisture, smell and decomposition progress. A clean earthy smell and gradually softening materials generally indicate better balance than an ammonia smell, sewage odor or exposed greasy scraps. Turning redistributes wet pockets and restores oxygen, but constant turning may not be necessary for a slowly managed pile. Choose a manageable interval; Iowa State notes that regularly turning helps fastest systems while less frequent turning can still work. If rodents appear, first change what you add and how scraps are covered.
Match Compost Symptoms to Simple Fixes
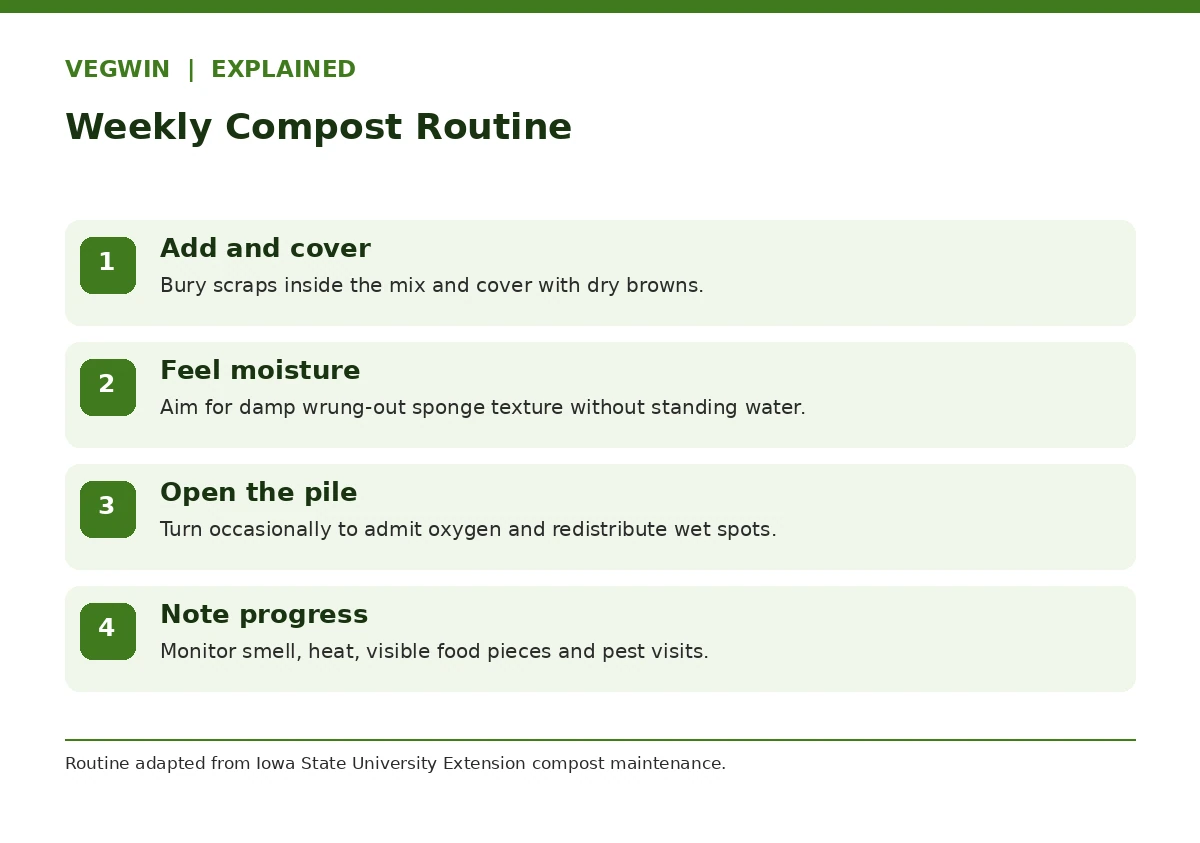
A sour or rotten smell usually points to excess water, poor air exchange or too much concentrated green material. Add dry shredded browns and mix to reopen spaces. A strong ammonia smell can signal excessive nitrogen-rich input; additional carbon-rich material may help. If the pile remains cold and dry, consider whether it lacks moisture, sufficient size or nitrogen. Small wood chunks also take longer to decompose than shredded leaves, so changing particle size may improve progress.
Flies and rodents are not reasons to reach first for pesticide treatments. Check for exposed food scraps and inappropriate items such as dairy or meat. Cover additions, repair access points in an enclosed bin and follow local pest guidance when needed. If the pile is soaking wet after rain, shield it while preserving ventilation. If weeds germinate from finished compost, investigate whether seeded weeds entered a cool pile. The point is to correct inputs, not hide a recurring problem behind fragrances or quick-fix additives.
| Pile symptom | Likely checks | First adjustment |
|---|---|---|
| Bad odor and wet clumps | Too much water or limited oxygen | Turn in coarse dry browns |
| Dry and unchanged materials | Inadequate moisture or large pieces | Moisten while mixing and shred coarse waste |
| Animal visits | Exposed scraps or unsuitable food | Exclude attractants; cover and secure scraps |
| Dark but still warm pile | Active decomposition not finished | Allow curing and retest maturity |
Tell Finished Compost From an Active Pile
Finished compost is generally dark, crumbly and earthy-smelling, with most original food and leaf material no longer recognizable. Iowa State adds that a mature pile should no longer be generating appreciable heat relative to ambient conditions. EPA recommends a curing stage after active decomposition and mixing have stopped producing heat. Dark coloration by itself is not sufficient: wet, still-heating material can look dark and still be unfinished.
If you can see intact corn cobs, thick twigs or undecomposed kitchen scraps, screen them out and return them to the active pile rather than forcing them into seed-starting media. Pile timelines vary greatly with season, moisture, size and turning. A claimed fixed seven-day transformation is not a reliable home-garden expectation. Use mature material conservatively as an amendment and rely on a soil test for nutrient decisions. Compost contributes organic matter; it is not automatically a complete substitute for every crop nutrient.
Make a Low-Maintenance Garden Compost Habit
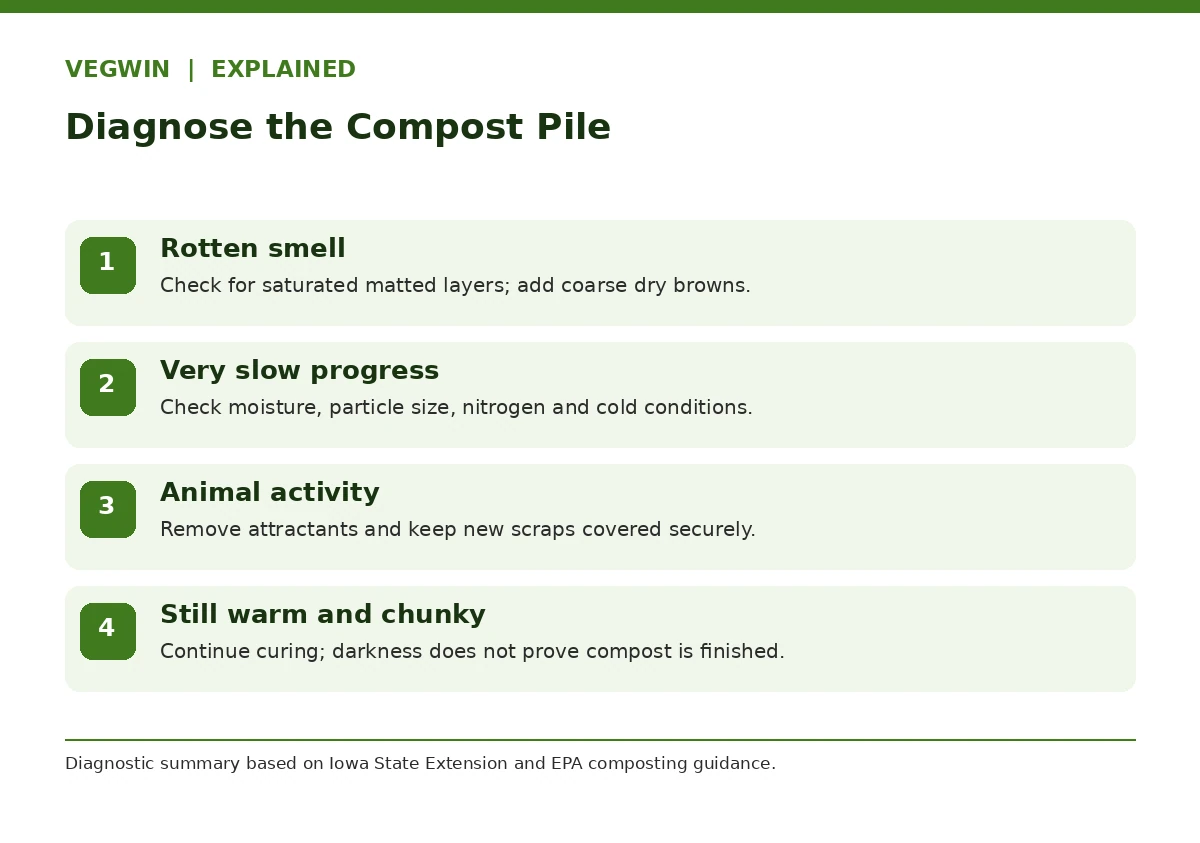
Set a small lidded collection bucket for produce scraps, a dry-leaf reserve beside the pile, and a regular check day. Add scraps to the center and cover them. Every time you turn, note whether the mixture is too dry or wet and whether recognizable original ingredients are disappearing. A two-bin setup can simplify the handoff: one bin for new inputs, one for curing older material. You do not need to purchase a compost activator merely to begin.
When the pile is mature, use it where plants and soil will benefit, but do not fill a container solely with untested compost or assume more is always better. If you have concerns about contaminated inputs or plant disease, do not put suspect compost in vegetable beds until the risk is resolved. The record of what entered your pile is more important than its color. Over a season, this small habit reduces avoidable waste while making the soil-improvement choice traceable.
How We Research and What Could Change
We compared current and historical Cooperative Extension, university food-preservation, and public-agency instructions relevant to the specific decisions in this guide. References were checked on October 19, 2026. The diagrams are our original summaries of those sources, not photographs of tested procedures or results from a VegWin field trial. This article does not replace a local crop calendar, food-safety protocol, laboratory analysis, or manufacturer instructions. Local climate, crop cultivar, packaging and equipment, and new official guidance can change your safest choice.
Research references: [1] Iowa State Extension [2] Iowa State Extension [3] US EPA
Disclosure: This guide contains no sponsored recommendations, affiliate commissions or paid endorsements. See VegWin affiliate disclosure; the site owner must confirm that page is reachable before manual publication.
Browns are generally carbon-rich dry materials such as leaves and cardboard; greens include nitrogen-rich vegetable scraps and fresh grass.
No. Hot managed piles can work faster, while smaller or cooler backyard piles decompose more slowly. Heat alone does not ensure every part is sanitized.
Common causes are excess moisture, insufficient airflow or too many wet nitrogen-rich inputs. Turn and incorporate dry coarse browns.
For an ordinary home pile, EPA advises against meat, fish, dairy, pet waste and other problematic inputs.
Look for an earthy smell, crumbly uniform structure, mostly unrecognizable ingredients and a finished or curing pile that is no longer heating significantly.