
A compost bin is only useful if you can reach its contents, keep the pile from becoming waterlogged, and admit enough air to support decomposition. The cheapest enclosure is not automatically the best one: a beautiful sealed box with no opening for a fork can be more frustrating than an uncomplicated wire ring. This guide is specifically about constructing and locating a functional bin. For ingredient ratios and compost maturity, use a separate composting guide; here the decision is the physical design you will live with through every turning and harvest.
Choose a bin design that matches the job
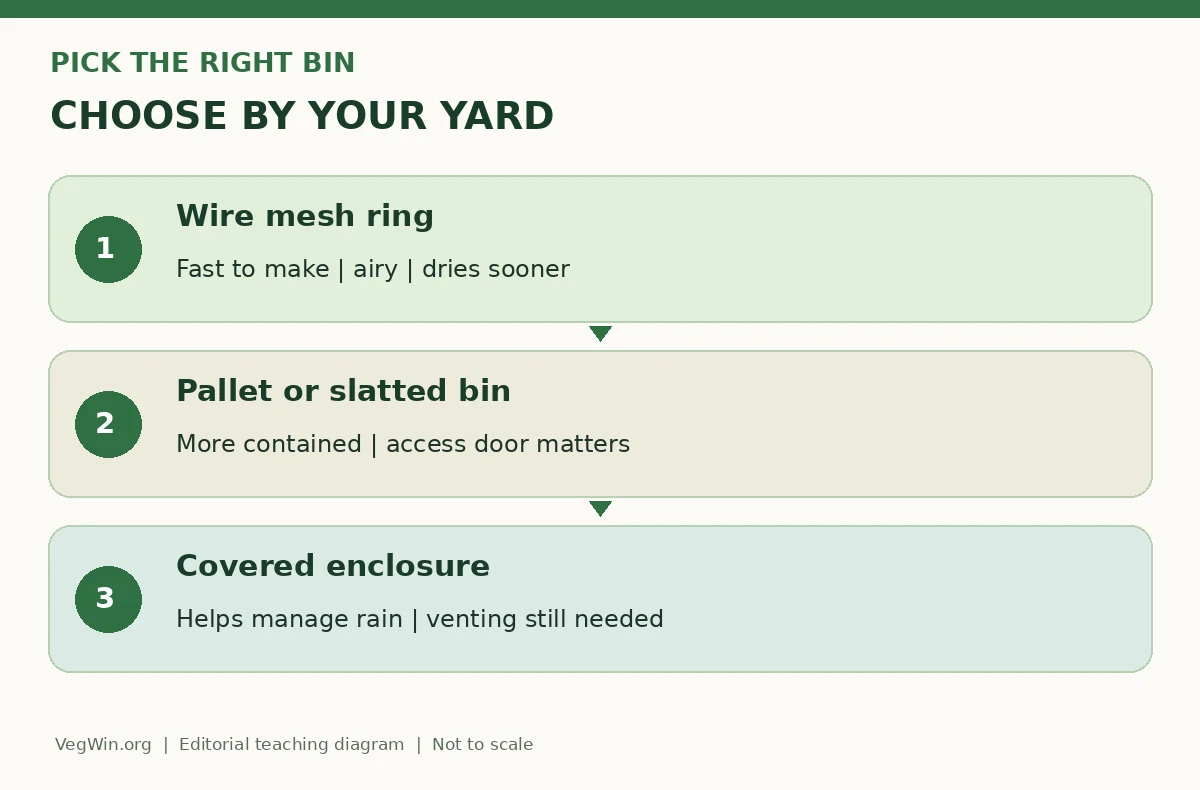
A removable wire-mesh cylinder suits a household with leaves, plant trimmings and a moderate pile. Wisconsin Horticulture describes a hardware-cloth ring held with clips or ties; the gardener can undo the join, lift the enclosure and rebuild it beside the old position to turn materials. That is an important mechanical advantage. A sturdy frame can look neater, yet becomes inconvenient if the opening is too narrow for a fork, wheelbarrow or person wearing gloves. Plan around the widest tool you will actually use, not only the dimensions of the empty enclosure.
Choose a slatted wooden or pallet-style bin where visible containment and repeated additions matter more than easy relocation. Keep openings for air and plan a removable front rather than a permanently fixed wall on every side. A covered or enclosed bin can reduce rain exposure or animal access but needs ventilation and reliable access for mixing. None of these choices magically guarantees pathogen destruction or a particular composting speed. The amount of material, moisture, mixing and management are still decisive. University Extension comparisons can help you match the form to the available space and effort.
Position the bin before cutting the frame
Pick a stable, accessible location away from places where leachate could run into a drain, well or waterway. You will carry bulky leaves in and finished compost out, so a route that works in dry summer may be muddy or blocked in winter. Confirm that a hose can reach the bin if the contents dry out and that excess rain will not pond under it. Compost bins against fences, wooden siding or tree trunks may cause practical moisture, access or root-invasion problems. Check local ordinances and building or community rules for setbacks before installing permanent structures.
On a suitable unpaved site, a mesh ring can stand over soil so excess water drains rather than collecting in a sealed bottom. In areas with persistent rodents or other wildlife concerns, a more secure construction may be necessary; keep food scraps buried inside the active material and follow local pest guidance. Do not assume an exposed food-waste bin is appropriate beside a patio. If the chosen site cannot handle water safely or allow routine access, move the location before purchasing hardware. The bin should fit the yard’s actual maintenance pattern.
Assemble a removable mesh ring safely
A wire-mesh bin is an approachable first build. Select sturdy galvanized mesh and verify the dimensions against a reviewed Extension plan rather than improvising an unstable tall cylinder. Iowa State explains the useful geometry: approximately 12.5 feet of fencing forms a cylinder about four feet across; this is an example of a design, not a minimum legal size. Lay out the material with gloves and eye protection, trim sharp wire ends flush, then overlap and fasten the seam so it can be opened again. Smooth exposed edges before anyone reaches into the enclosure.
Set the ring level and use stabilizing posts if wind or uneven ground threatens to topple it. Keep tie points where you can undo them without crawling into a full bin. Do a dry run: can you detach the seam, lift or reposition the empty ring and rake across its full width? If not, correct it now. Avoid attaching an attractive permanent roof that prevents a fork from entering. A useful compost bin is designed around cleaning, unloading and rearranging materials as much as around the initial fill.
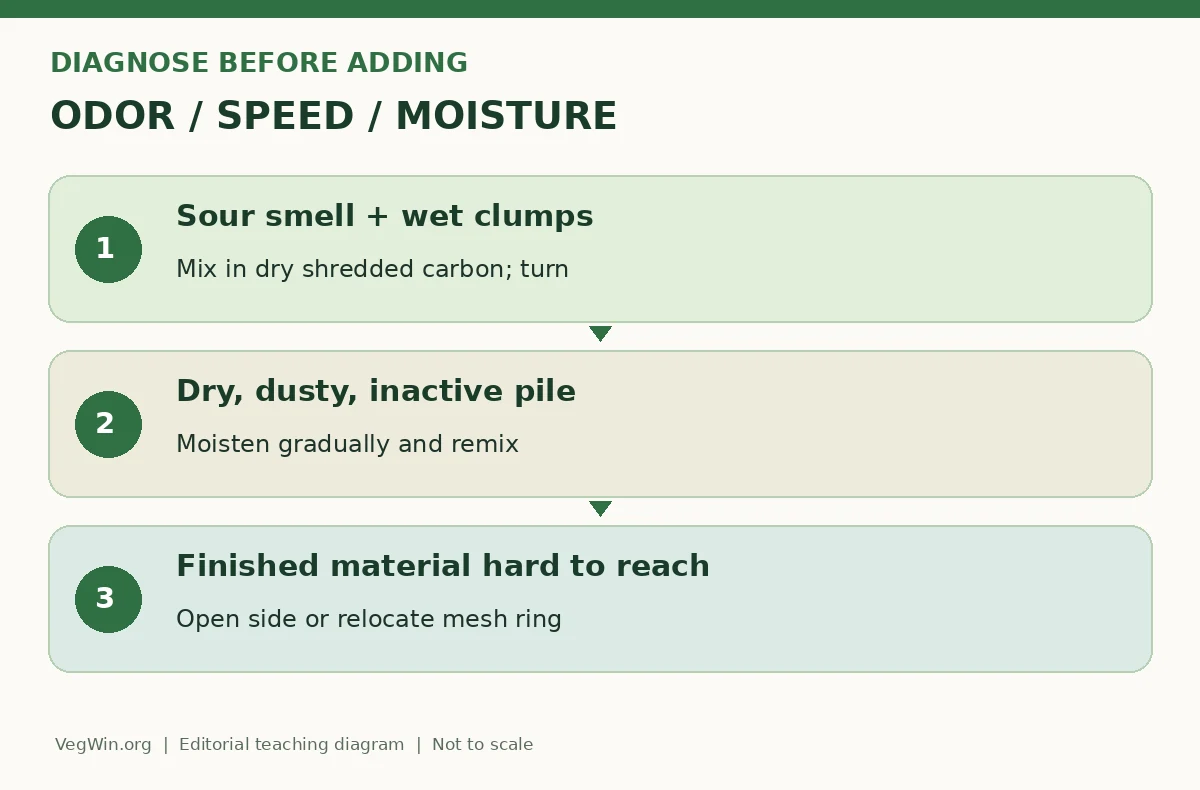
| Observed situation | Useful first action | Decision principle |
|---|---|---|
| Sour smell + wet clumps | Mix in dry shredded carbon; turn | Verify condition |
| Dry, dusty, inactive pile | Moisten gradually and remix | Correct before adding products |
| Finished material hard to reach | Open side or relocate mesh ring | Monitor the result |
Leave pathways for oxygen and rainwater
Microbial decomposers need moisture and oxygen; a compacted, waterlogged mass can smell sour. Mesh offers ventilation, but it can lose moisture faster in hot or windy weather. Slats or breathable side gaps permit airflow while retaining larger material; a close-fitting container needs deliberately placed vents. A roof or removable cover can keep heavy rain from saturating the pile without turning the structure into an airtight tank. Do not put a bin on a surface where dark liquid accumulates without drainage. Inspect the base after the first heavy rain.
Feed the bin with a mix of chopped plant materials and drier coarse matter, then mix instead of creating dense undisturbed layers. Maryland Extension recommends maintaining a texture roughly like a wrung-out sponge rather than dripping wet. If moisture is uneven, a hose aimed only at the top will not necessarily reach dry pockets farther inside. Turn the contents and inspect several depths. Keep a small reserve of dry leaves or shredded non-glossy paper nearby to correct overly wet additions. Skip unknown herbicide-contaminated clippings and risky materials that local Extension excludes.

Make turning and finished-compost removal practical
Plan what happens when the pile is half finished but new material keeps arriving. A single enclosure used for continuous dumping mixes very fresh material with mature fractions; that can make identifying ready compost more difficult. Where space allows, make one area for active additions and another for resting or finishing. A movable ring can be lifted and set beside the mound, then material forked into it. A stationary bin needs a front panel large enough to reach lower material safely, not just a tiny hatch for appearance.
Before using homemade compost in a vegetable garden, look for stable, earthy material without recognizable fresh kitchen scraps; do not mistake a dark wet lump for fully finished compost. A pile that stays cool can still break down over time, but household composting is not automatically a validated pathogen-kill treatment. Be cautious with manure and food-safety-sensitive crops, and use reliable local Extension practices. Set aside time for turning, inspection and curing. Ease of access is what makes those actions realistic, and therefore belongs in the original design. Our walkthrough on how to start a worm compost bin without odors or flies sets out each step.
Correct failures without rebuilding everything
A sour, ammonia-like or rotten smell calls for diagnosing the material before blaming the container. Examine whether the contents are wet, packed or dominated by food scraps. Improve mixing, add suitable dry bulking material and clear blocked air gaps. An extremely dry pile may need gradual moisture, not more ventilation. Ants or exposed food can indicate that scraps are not buried well or that conditions and enclosure security need adjustment. Avoid indiscriminate additives sold as compost accelerators before fixing the physical conditions that decomposers actually require. Our walkthrough on how to choose peat-free potting mix for container vegetables sets out each step.
If the bin collapses when full, stabilize or redesign it before someone reaches in or a child leans against it. If turning is physically painful, switch to a removable mesh ring or a wider side-opening bin instead of forcing yourself through a poor setup. Also, if the whole heap becomes inaccessible under fresh layers, introduce a second holding area. Record how often rain enters, the smell after turning, how easily you extract finished material and whether animals get access. This small log produces better improvements than a generic promise of ‘fast compost’.
Related Guides
- Garden Composting for Beginners: Balance Materials and Fix Pile Problems
- Compost for Clay Soil: Improve Vegetable Beds Without Quick Fixes
- Bokashi Composting: From a Sealed Bucket to Finished Soil
- How to Make Leaf Mold from Fallen Leaves and Know When It Is Ready
- Compost Tea for Gardens: What It May Do, What It Cannot, and Safety
How We Research and Verify These Decisions
Source review date: October 20, 2026. This guide was researched using the primary university guide; second Extension or IPM source; additional specialist reference; supplemental verified reference. Specific details were checked against the original publications rather than copied from unverified search snippets. The diagrams and comparative decisions are original editorial syntheses; they are not experimental proof or a substitute for the plant, climate and regulations in your location. Local overlap checking compared 150 prior VegWin batch draft titles and slugs; an authenticated full inventory of live WordPress URLs could not be checked independently. Verify the final live URL, internal links, category and publication suitability before manual publishing.
Disclosure: This article has no claimed sponsorship, paid endorsement or approved affiliate relationship, and the buttons point only to independent educational resources. See the affiliate disclosure for the site policy. This article has no /go/ affiliate route; no external merchant relationship is asserted.
Frequently Asked Questions
Not necessarily. A mesh or open-bottom bin over a suitable, well-drained location is common; security and leachate concerns may require a different engineered base.
Neither is universally better. Mesh is inexpensive and movable, while wood can contain material neatly if it preserves airflow and includes an accessible front.
The pile may be saturated and short of oxygen. Examine drainage, mix compacted material and add appropriate dry carbon rather than sealing every opening.
Check local rules and animal pressure. Bury suitable scraps within the pile and avoid meat or other materials restricted by Extension guidance.
Look for stable earthy texture and a lack of recognizable fresh inputs; maturity depends on the whole process, not simply how many weeks the bin has stood.