Drying vegetables saves space and creates useful ingredients for soups, stews, sauces, and everyday cooking, but the method is not simply to slice everything and leave it under warm air. Vegetables vary in their structure, required pretreatment, and end-point dryness. Home drying is also different from canning: it removes moisture rather than using a tested sealed-jar heat process. This guide helps you choose whether a harvest is suitable, locate a crop-specific tested instruction, follow a controlled drying sequence, and reject food that remains damp or develops spoilage. It does not invent a universal blanching time, dehydrator temperature, or safe shelf life.
Decide Which Harvest Is Worth Drying
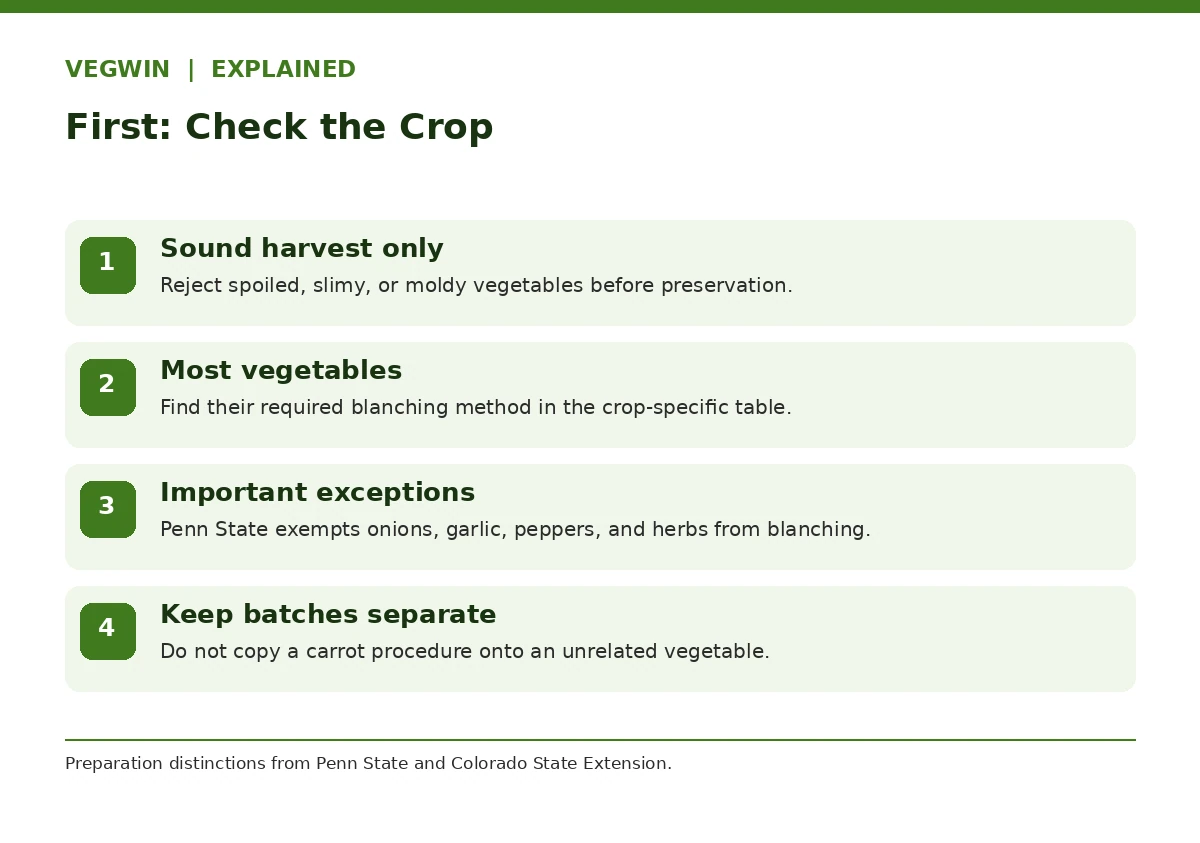
Choose sound vegetables at good eating quality and start preparation promptly. Colorado State University Extension stresses sorting out decayed or moldy produce rather than attempting to rescue spoiled food by dehydration. Wash under clean running water and remove dirt before trimming. An abundant harvest of carrots, green beans, onions, or leafy vegetables may make good dried cooking ingredients; produce that is already slimy, damaged by rot, or has an off smell should not enter a drying batch.
Decide how you will use the food later. Dried vegetables rehydrate differently from fresh ones and may be best in cooked dishes; they will not become crisp fresh salad ingredients. Label the intended use before loading trays. When a vegetable has no appropriate university or NCHFP drying directions, freezing may be the better preservation route. Treat mushrooms, meat mixtures and home-prepared meals as separate food-safety topics requiring their own verified guidance, not as variations of a vegetable recipe.
Check Vegetable-Specific Blanching Before Cutting
Most vegetables benefit from blanching before drying. This heat pretreatment slows enzymes, helps preserve quality and improves microbial reduction; Colorado State and Penn State Extension both give crop-specific instructions. There are exceptions: Penn State lists onions, garlic, peppers and herbs among items that do not need blanching. Do not infer from one exception that every vegetable can be dried raw. Find the exact crop in an authoritative chart before starting.
Water and steam blanching methods have different timing characteristics, and altitude or piece size can alter treatment. Use the complete instructions of a single reputable chart for the specific vegetable and method, including cooling and draining. Do not copy a time given for carrots onto broccoli or rely on a social-media air-fryer setting. If you are drying more than one crop, prepare separate labeled batches so no tray accidentally bypasses an essential pretreatment.
Prepare Uniform Pieces and Clean Trays
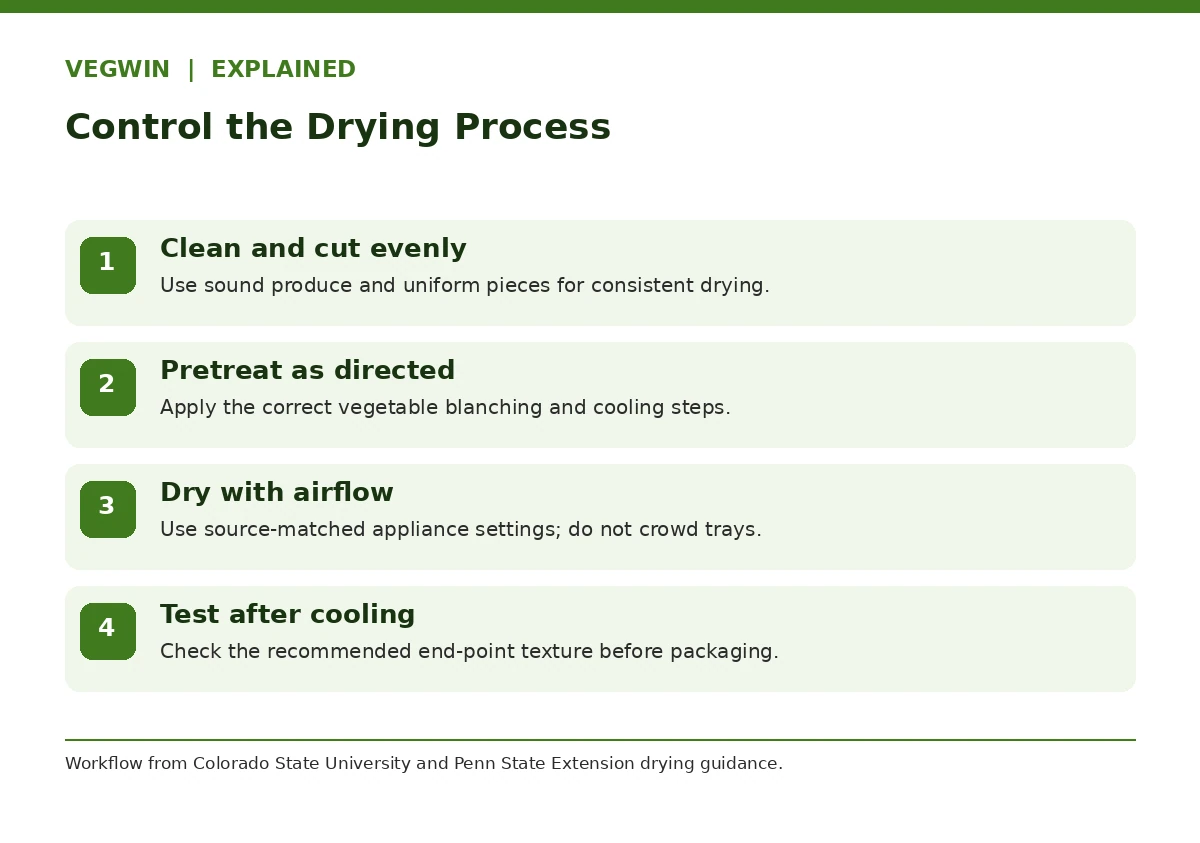
Trim woody and fibrous parts, then cut pieces to a reasonably uniform size for the particular vegetable. Large chunks stay damp inside after the thinnest pieces have finished. Penn State advises nonoverlapping pieces and sound sanitation: clean hands, counters, tools, dehydrator trays and containers. Clean reusable trays according to the manufacturer. A home food dehydrator with controllable heat and moving air is generally easier to monitor than a sun-exposed sheet pan.
After blanching, cool and drain as directed for that vegetable. Blot excess surface water if the guidance calls for it, then spread pieces so air can reach them. An overloaded tray may cause uneven drying even if the machine display shows the expected temperature. If your equipment requires tray rotation or particular loading, follow its instructions. Record the vegetable, slice thickness, pretreatment method, appliance setting and start time; observations are more useful than declaring an exact finish time in advance.
Use Verified Equipment Settings and Dryness Tests
Heat, dry air and air movement work together. Colorado State describes why excessively low initial temperatures can allow microorganisms to persist while excessive heat may harden surfaces and impede internal moisture loss. Penn State provides temperature guidance for its described procedure; those numbers are not universal across every appliance or vegetable. Use its full method, a matching crop table and your dehydrator manual, not an isolated temperature snippet.
Drying time is a range, not a clock-triggered guarantee. Pieces at different tray positions may finish at different rates. Let a test piece cool before judging texture, because warm vegetables feel more flexible. NCHFP advises drying vegetables until they are very dry, generally brittle or crisp; some items have their own texture description. If the center bends with evident moisture where the source expects brittleness, return that portion for further drying rather than sealing it into a jar.
Cool and Package Without Trapping Moisture
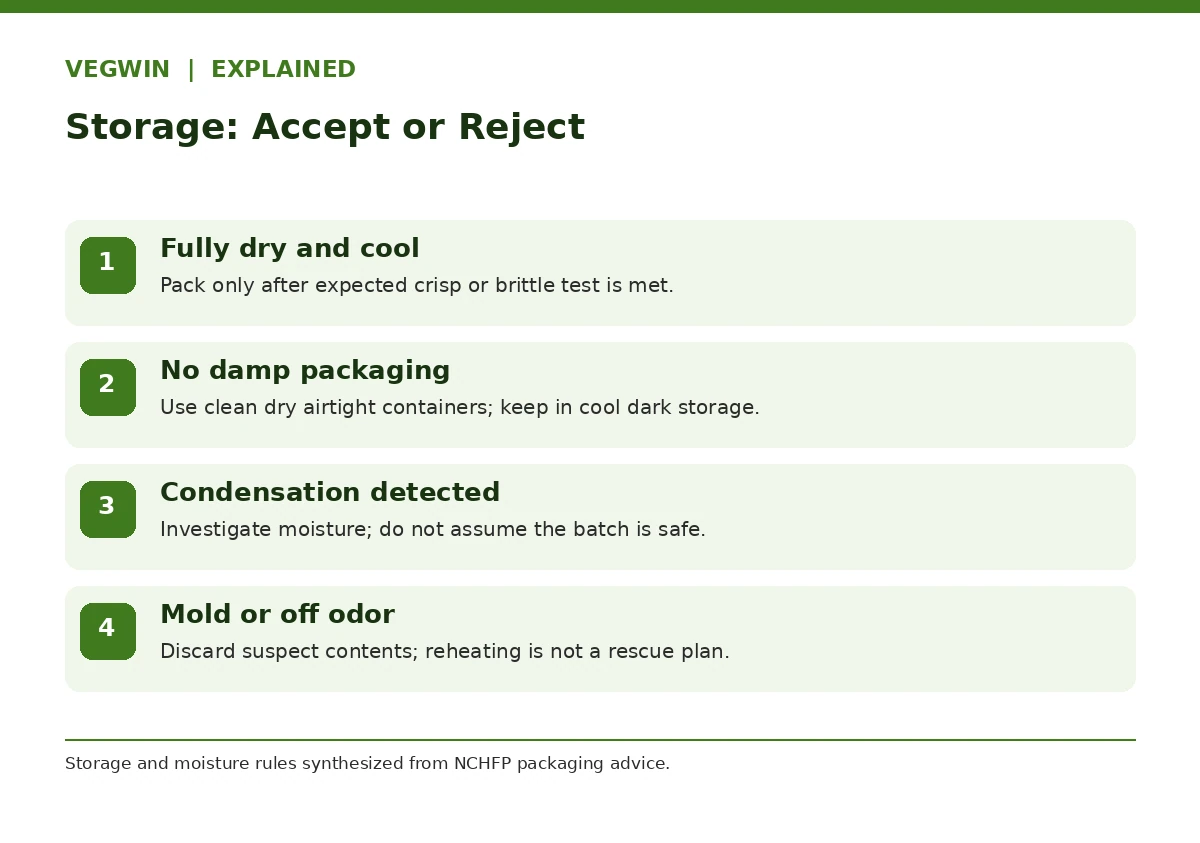
Allow vegetables to cool fully before packing so warmth does not create condensation against the container. NCHFP recommends clean, dry, insect-resistant and moisture-resistant packaging, in portions that can be used without repeated reopening. Clearly mark the vegetable and drying date. Unlike most dried fruits, adequately dried vegetables generally do not need the fruit-conditioning procedure because their final moisture level should be much lower.
Examine jars periodically for moisture or unexpected softness. Moisture in an apparently dry package is a warning, not evidence that the food is fine indefinitely. If food shows mold, discard it; do not scrape mold off or re-dry moldy pieces. If the product is merely under-dried and has no sign of spoilage, consult NCHFP guidance before deciding on further drying. Good packaging protects against reabsorption; it cannot make incomplete drying safe.
| Vegetable or situation | Where to start | Do not assume |
|---|---|---|
| Carrots, beans, broccoli | Locate matching crop pretreatment and drying table | Raw slicing alone is suitable |
| Onions, garlic, peppers, herbs | Check cited exception and vegetable-specific instructions | Their exemption applies to every crop |
| Piece still damp after cooling | Continue appropriate drying and retest | Elapsed hours guarantee dryness |
| Mold or off odor in storage | Discard suspect food | A new round of heat fixes spoilage |
Store in Conditions That Protect Quality
Store dried vegetables in a cool, dry, dark location. NCHFP explains that warm storage shortens keeping quality and that vegetables generally keep for less time than dried fruits; Colorado State provides typical ranges for properly processed products rather than guarantees. Monitor food, packaging and storage conditions instead of writing a one-year safety promise on every jar. Light, moisture and frequent opening each affect the outcome.
For cooking, rehydrate according to the crop and dish. Some tender dried leaves can go straight into simmering liquid while firmer vegetable pieces may need soaking and additional cooking. Rehydration is not a cure for improper pretreatment or spoilage. Keep an inventory showing which foods your household actually uses. If a batch remains on a shelf because the texture is unsuitable, switch to a better preservation method next season rather than insisting that every crop must be dehydrated.
Use a Batch Record for Safer Decisions
A useful record has six fields: crop and condition at harvest; source of the drying directions; piece size; pretreatment performed; drying end-point test; and packaging and storage checks. For example, a carrot batch and an onion batch should not share a single recipe row. Review that record when a jar appears damp. If you cannot tell whether blanching was performed or whether the expected end point was achieved, do not treat the food as shelf-stable on faith.
This method does not extend to improvised home canning, oil-packed vegetables or unrefrigerated vegetable mixtures. Those have different microbial hazards and preservation rules. NCHFP and USDA tested processes are the appropriate references for canning, not a dehydrator recipe. If you need precise blanching minutes and drying times, open the original Extension crop table at the first CTA and follow the matching entry without alteration.
How We Research and What Could Change
We compared current and historical Cooperative Extension, university food-preservation, and public-agency instructions relevant to the specific decisions in this guide. References were checked on October 19, 2026. The diagrams are our original summaries of those sources, not photographs of tested procedures or results from a VegWin field trial. This article does not replace a local crop calendar, food-safety protocol, laboratory analysis, or manufacturer instructions. Local climate, crop cultivar, packaging and equipment, and new official guidance can change your safest choice.
Research references: [1] Colorado State University Extension [2] Penn State Extension [3] NCHFP University of Georgia [4] National Center for Home Food Preservation
Disclosure: This guide contains no sponsored recommendations, affiliate commissions or paid endorsements. See VegWin affiliate disclosure; the site owner must confirm that page is reachable before manual publication.
No. Most do, but Penn State lists exceptions such as onions, garlic, peppers and herbs. Use instructions for the specific vegetable; do not generalize.
Cool a test piece and compare its brittleness, crispness or crop-specific end point with university or NCHFP guidance. Time alone is insufficient.
Some authoritative methods describe oven drying, but temperature control and ventilation are harder to manage. Follow a complete trusted method and appliance directions.
NCHFP says properly dried vegetables generally do not need fruit-style conditioning because they should already be very dry.
Condensation requires investigation before using the food; moldy dried vegetables should be discarded, not rinsed or re-dried.