Grow lights for seedlings solve a specific problem: a bright-looking room often supplies too little light for compact vegetable transplants. The aim is not to buy the most powerful lamp or keep one on continuously. It is to supply usable light over the tray, give seedlings a dark period, and adjust the setup as plants grow. Fixture type, output, height, species, and age all matter. This guide is about raising seedlings until transplanting, not about lighting fruiting crops indoors or comparing branded fixtures.
Choose a Fixture That Covers the Tray
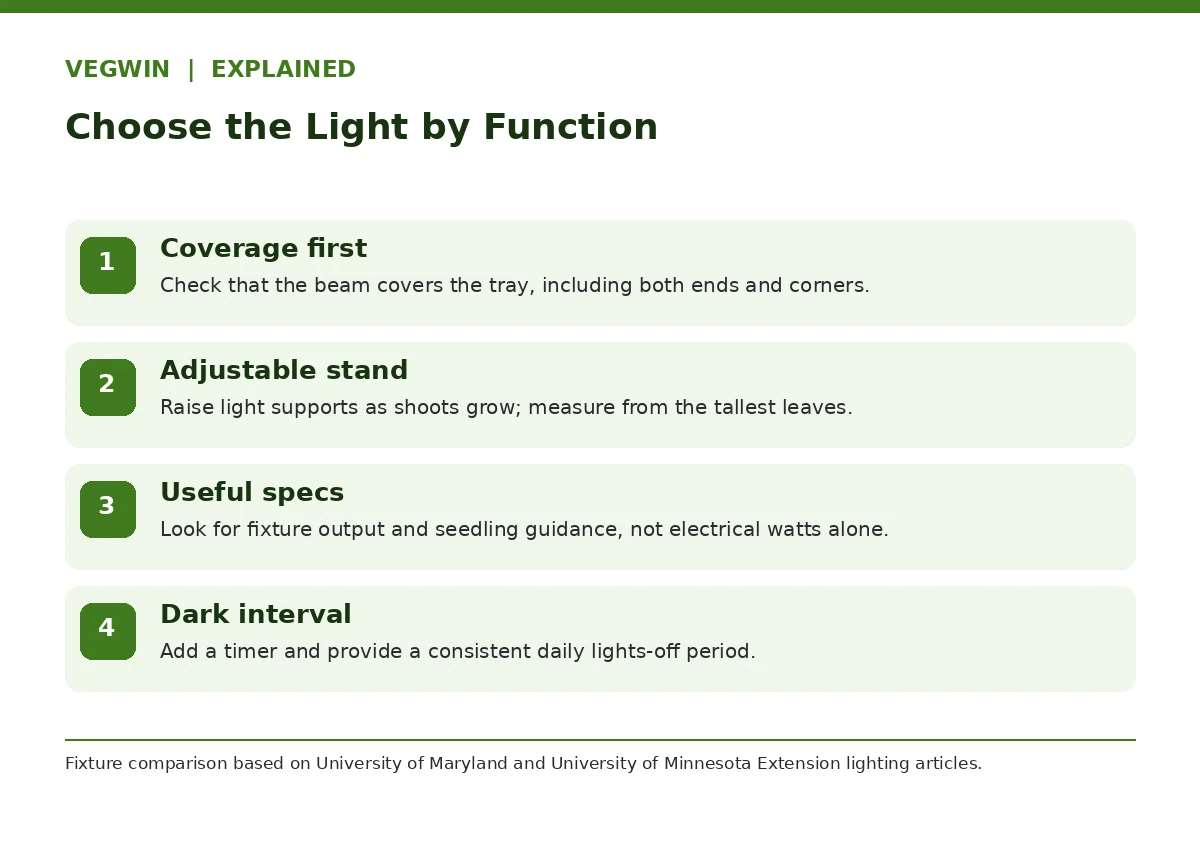
Both LED and fluorescent fixtures can raise strong vegetable seedlings. University of Maryland Extension describes broad-spectrum LEDs and cool-white fluorescent options, while Minnesota Extension notes that useful specifications include output as well as electrical watts. Wattage alone tells you how much electricity a fixture uses, not how evenly or intensely light reaches every cell in the tray. A low-output desk lamp can leave edges dim even if its bulb looks brilliant.
Before shopping or reusing a fixture, measure your growing shelf and seed tray. Ask whether the fixture can be raised on chains or another secure support and whether the light covers the entire tray. A workable stand with a timer is more useful than a color-changing lamp whose coverage and distance are unknown. If an LED manufacturer provides a seedling-height or output chart, use it rather than a universal number from a different lamp.
Set Lamp Height With Feedback
Extension guides give starting distances for specific common fixtures, not one law for every LED. Maryland currently describes several inches of separation for fluorescent and LED seedling fixtures; Minnesota also emphasizes keeping the light close and moving it up as seedlings grow. For a high-output LED panel, however, the maker’s recommended seedling distance may be greater. Never press leaves against hot lamps or exposed electrical parts.
Position the light level above the plant canopy, then observe growth. Long thin stems leaning toward one side suggest insufficient or uneven light, although crowding and temperature may contribute. Bleached, scorched, or curled upper leaves close to a strong fixture may suggest excess intensity or heat. Adjust height in small, documented steps, rotate trays if the edge receives noticeably less light, and monitor plant response over several days.
Program Light and Darkness Daily
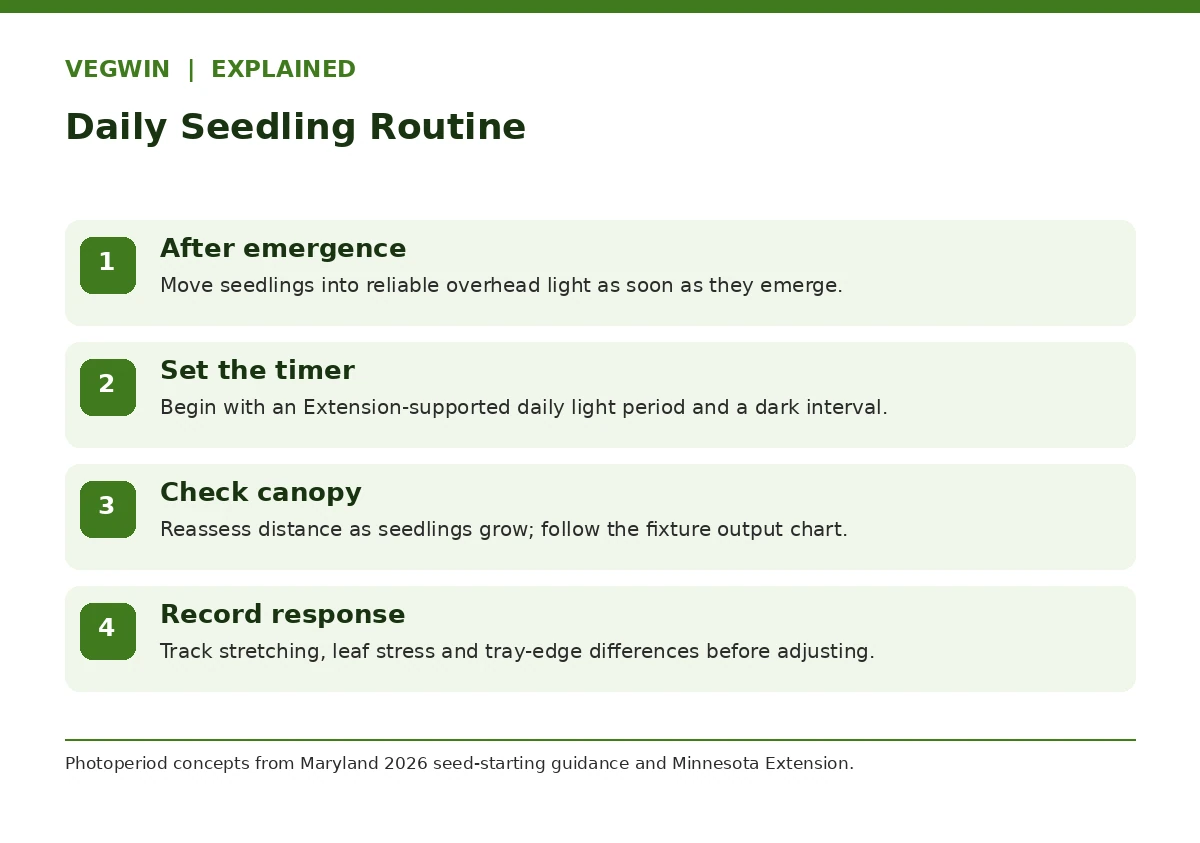
University of Maryland Extension recommends a consistent long daytime lighting window for vegetable seedlings, often 14 to 16 hours under common home fixtures. University of Minnesota sources present somewhat different ranges depending on setup and crop. That variation is a reason to treat the duration as a starting routine rather than an exact requirement for every species. Young plants should receive a period of darkness instead of a lamp left on around the clock.
Use a simple outlet timer so missed evenings do not add random light variation. If there is substantial window sunlight, remember that total usable light depends on intensity as well as hours: a dim winter window does not replace strong overhead light one-for-one. Keep a short note of on-time, off-time, fixture height, and seedling appearance. If seedlings stretch despite long hours, examine lamp output and coverage before lengthening the schedule.
Manage Moisture, Air, and Growth Stage
Light is only one variable. Seed-starting media must have suitable drainage and should be moist but not waterlogged; damp conditions with stagnant air invite trouble. Remove a humidity dome when seedlings emerge according to crop guidance. Overcrowded seedlings shade one another, so thin or move seedlings before stems compete for space. Light has to reach leaves, not just illuminate a crowded tray from a distance.
Warm germination conditions may be useful before emergence, but the indoor environment needed for a newly emerged seedling can differ. If plants continue to grow at a rapid pace in low light, stems may stretch. Avoid using fertilizer to correct what is actually insufficient light or excessively wet media. A gentle daily check of moisture, roots, and air movement is more effective than an automatic soaking on a fixed calendar.
Diagnose Seedling Problems Before Buying
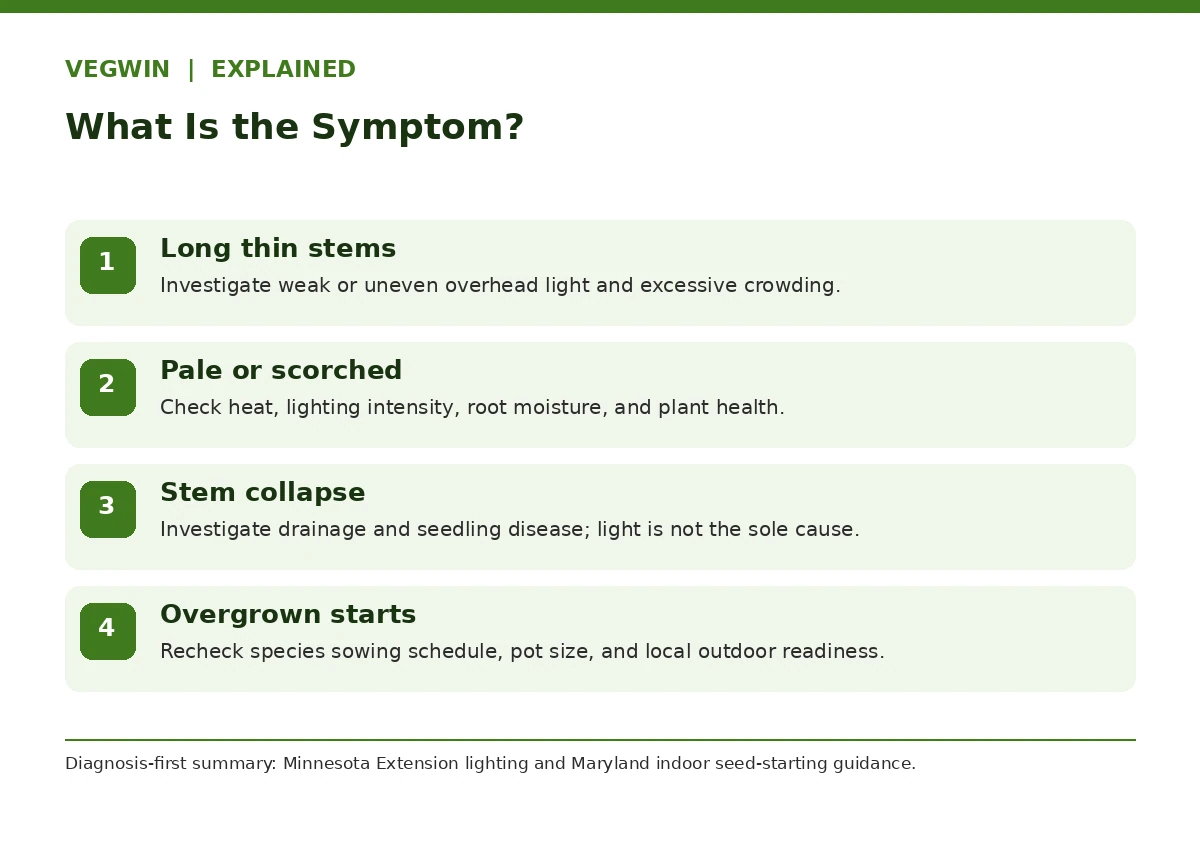
Tall, floppy transplants are often described as “leggy,” but the cause needs checking. Look at where stems bend, whether only edge plants stretch, and whether the fixture has been raised as the canopy rises. Pale leaves could reflect insufficient light, a wet root zone, nutrition, or disease; do not assume they prove the lamp has the wrong color. Seedlings collapsing at the soil line may need a damping-off investigation, not more hours of illumination.
Compare several nearby plants rather than judging one outlier. Examine drainage holes and seedling density. A plant leaning toward a window can improve when light comes evenly from overhead. A plant pressed against an intense lamp may need increased clearance. If symptoms spread despite environmental corrections, consult local Extension diagnostics and keep damaged plants apart from healthy trays.
| Observed pattern | Check first | More useful response |
|---|---|---|
| Long stems and leaning | Light intensity, coverage, lamp height | Improve overhead coverage; review fixture-specific distance |
| Scorch near the lamp | Heat or excessive intensity | Increase clearance according to the fixture guidance |
| Seedlings fall at soil line | Moisture, drainage, disease symptoms | Investigate damping-off; do not prescribe more light |
| Root-bound before outdoors | Sowing date and container size | Recheck local transplant calendar and potting plan |
Plan Lighting Around Transplant Timing
An excellent light cannot make an overgrown, root-bound seedling easier to transplant. Start with the crop-specific outdoor planting window and count backward using reputable regional guidance. Tomatoes, peppers, and cool-season brassicas do not share one sowing schedule. Local last-frost timing, soil warmth, species tolerance, and expected transplant size matter; a USDA hardiness zone is not a replacement for a frost calendar.
Indoor lighting also does not harden seedlings for outdoor sun and wind. Before planting out, gradually acclimate transplants as local guidance recommends, while protecting them from chilling and strong midday sun. Continue adequate lighting during the indoor portion of the transition. Treat a shorter, sturdy plant with healthy roots as a better goal than maximizing height by the predicted planting day.
Use a Repeatable Weekly Light Check
Once a week, inspect the stand before raising lamps. Confirm that cords are secure and dry, the timer has not been reset, and leaves are not touching equipment. Measure the distance from the tallest canopy to the fixture, not from the soil surface. See whether the ends of a tray look different from the middle and adjust coverage rather than blaming the seed variety immediately.
Keep the method simple: note light hours, fixture position, the crop and age, and any visible change. Repeat that check after potting up, when taller containers change the distance to the lamp. Replace or maintain lights based on manufacturer guidance and observed output, not a blanket annual replacement rule. The point is a reliable transplant process, not a display of lighting gadgets.
How We Research and What May Change
This guide compares public Cooperative Extension and university IPM recommendations, emphasizing the decisions a home grower can check in their own garden. The linked references were checked on October 19, 2026. No product testing, private cultivar trials, or site-specific soil analysis is claimed. Recommendations may change with climate, crop variety, local regulations, newly diagnosed disease, or revised Extension guidance; for a local decision, consult your state or county Extension office.
Sources reviewed: [1] University of Maryland Extension [2] University of Minnesota Extension [3] University of Minnesota Extension [4] University of Maryland Extension
Disclosure: This article contains no sponsored recommendations and no affiliate links. See the designated VegWin affiliate disclosure page; its live availability must be confirmed by the site owner before publication.
For common home vegetable-seedling setups, 14 to 16 hours is a reasonable Extension-supported starting point, with darkness afterward. Crop, output and guidance vary.
Follow the specific fixture’s seedling recommendations. Common home fixtures may be a few inches above the canopy, but powerful LED panels can require greater clearance.
Some very bright windows work, but Extension guidance warns that most windows produce weak, stretching indoor vegetable seedlings.
Yes. Do not run seedling fixtures continuously; provide a consistent dark interval within each 24-hour cycle.
Not necessarily. Collapse at the soil line calls for checking water, air circulation, drainage and possible disease, not a lamp adjustment alone.