
Celeriac is grown for its rough, knobby swollen base, but its seedlings begin life as almost invisible specks. The tiny seeds are easily lost in a deep dibber hole, and delicate emerging seedlings can fail if the compost surface dries into a crust. For reliable seed starting, use a fine moist mix, sow thinly and shallowly, and cover with only the light sprinkling specified by a dependable celeriac guide. This is different from pushing pea or bean seeds far below the surface. The useful comparison is between tiny surface-level seeds and a planting hole that is too deep.
Recognize the Seed and the Adult Crop
Celeriac is a cultivated form of celery grown for a swollen stem base and upper root region, not a separate species that begins with a miniature turnip underground. Mature foliage resembles celery, with divided, toothed leaflets and grooved leaf stalks above the knobbly pale storage organ. At sowing time, however, you will see only tiny tan to brown seed-like fruits. Their scale matters: the planting depth suitable for a large bean is far too deep for celeriac.
Place a few seeds on white paper so you can judge their size before sowing. Work out of drafts that might scatter them across the bench. A fine, loose seed-starting medium gives emerging roots better contact than clods of untreated outdoor soil. University of Maine Cooperative Extension lists celeriac among crops started in protected indoor conditions well before planting out, but its calendar is local to Maine; gardeners elsewhere should work back from their own frost-free transplanting window and growing-season length.
Prepare a Fine Tray That Drains Freely
Choose a shallow seed tray or small cells with drainage holes. Fill them with fresh, pre-moistened seed compost and level the surface gently. Tamp it just enough to prevent large air pockets without compacting it into a hard plug. If water pools on the surface for a long time, the mix is too wet or its drainage needs attention. If dry peat-like material sheds every droplet, moisten it thoroughly before seeds go on top rather than washing newly sown seeds into corners afterward.
Labels should record crop, variety, and sowing date in the tray, not in the growing medium where they shade the seeds. Provide a clean work surface and avoid recycling trays with known seedling disease contamination unless they are properly cleaned. Good starting conditions reduce the risk of damping-off diseases; extra fertilizer cannot fix a tray with saturated, airless roots. Position the tray where it can receive protected warmth and suitable light once emergence begins.
Sow Thinly With Only a Light Cover
The RHS celeriac guide calls for sowing thinly in moist seed compost and adding only a light sprinkling of compost above the seeds. Distribute seeds in small spaced groups rather than dumping a thick line into each cell. Press them gently onto the surface for contact, then use a very fine covering that does not block emergence. An easily visible, deep furrow is the wrong scale for celeriac. If the package supplies crop-specific depth instructions, respect them over any generic seed-size rule.
In a soil cross-section, show the tiny seed close to the upper edge of the moist medium, with only a fine dusting above it. A separate avoid example can show a deep hole where a seed is difficult to reach. The illustration should not claim that every seed needs to be completely uncovered; the source-backed instruction is a very light covering. Do not bury the surface under chunky mulch, grit, or a thick layer of soil that would overwhelm a fragile new shoot.
Keep Moisture Steady During Emergence
Celeriac can emerge slowly and unevenly, so check the tray consistently rather than declaring failure after a few days. Fine seeds need continuous access to moisture, but they also need oxygen in the mix. Water from below when appropriate or mist gently so the top stays evenly damp without shifting seed. If using a clear temporary humidity cover, ventilate it and remove it promptly when seedlings appear. Standing droplets and soaked stems are not a sign of better care.
Once seedlings break the surface, move them into good light so stems do not stretch excessively. Avoid strong midday heat against the glass of a closed propagator. University of Minnesota Extension notes that some seeds needing light can be covered with a porous fine layer of vermiculite; the broader principle is keeping an appropriate moist, airy surface rather than burying it under a dense layer. Keep a simple date record and compare emergence across cells before thinning.

Distinguish Seed Leaves From True Leaves
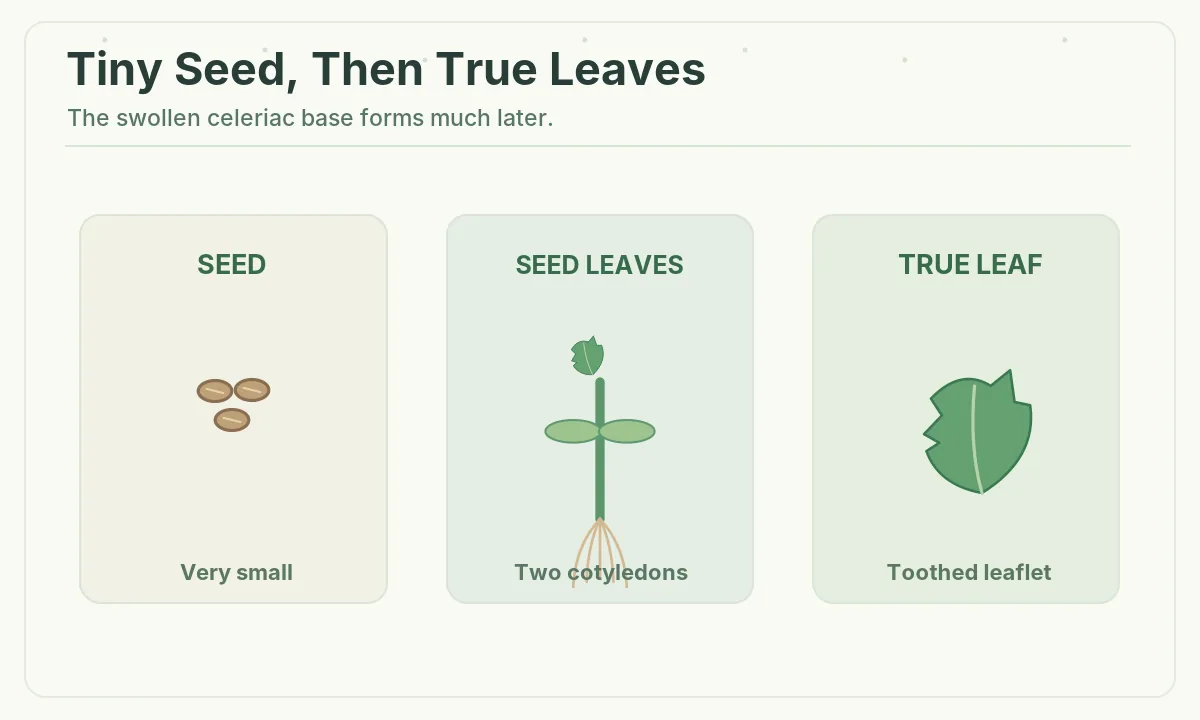
The first visible seedling structures are small cotyledons, or seed leaves. They are simpler than the divided leaflets that appear later. Wait for the developing true leaves before planning careful handling, and never mistake an early pair of cotyledons for a miniature mature celery plant. If multiple seeds germinated in the same cell, retain the stronger plant by clipping extras rather than pulling entangled roots through the mix.
A close-up image should show the stem emerging from the soil, two modest seed leaves, and the first toothed true leaf developing above them. This is the correct stage comparison for a germination article; a mature round celeriac root should appear only as an end-stage reminder, not attached to a fresh sprout. Remove stagnant covers and provide adequate gentle air circulation. Weak elongated seedlings usually need better light, not a buried crown or added soil over their newest leaves.
Pot On Without Pulling the Stems
As plants become large enough to handle safely, loosen the entire small root mass with a label, spoon, or dibber. Hold by a leaf if needed instead of squeezing the thin stem at soil level. Transfer to a slightly larger drained cell with the crown at its existing depth, settle the mix, and water gently. The aim is a rooted, sturdy young plant rather than a fast-growing stretched seedling. Do not plant an entire clump of seedlings together just because their stems look too fragile to separate.
Let transplants acclimate gradually to outdoor light, breeze, and temperature before planting. Celeriac is susceptible to prolonged low temperatures at the wrong stage, which can promote premature flowering rather than root production; the RHS emphasizes protecting young plants from chill. The final date for moving outdoors should follow local frost risk and actual conditions, not a generic USDA winter hardiness-zone number. Adjust spacing and cultivation with a local Extension recommendation once seedlings are ready.

Diagnose the Most Common Failed Trays
A blank patch in the tray can have several causes: dry upper compost, old seed, a crusted or deeply covered surface, and unsuitable temperature. Inspect the condition before sowing again. If the top has dried hard, wet it gently and change the irrigation pattern; do not dig through every cell and destroy any sprouts just beneath the surface. If germination is patchy, thin the stronger cells and give slower ones a reasonable chance before discarding the mix.
Seedlings that fall over at a dark pinched stem base may have damping-off problems, not a lack of fertilizer. Discard affected seedlings, improve cleanliness and drainage, and prevent stagnant wet conditions. A small test sowing with a different fresh packet can reveal a low-viability batch without sacrificing an entire season. Patience, fine seed placement, and steady care are the meaningful steps; deep sowing to make the seeds look secure is precisely the error to avoid.
Related Guides
How We Research This Guide
The guidance in this article was checked against the following named specialist sources on October 27, 2026: www.rhs.org.uk — RHS: sow thinly in seed compost with only a light sprinkling of cover and protect cold-sensitive seedlings.; extension.umaine.edu — University of Maine Cooperative Extension: celeriac timing in seed-starting schedule; clean mix, cells, and transplant handling.; extension.umn.edu — University of Minnesota Extension: porous fine covers for seeds requiring light, moisture management, and safe transplant lifting.. These sources support specific botanical distinctions rather than promising identical results in every climate. Always check local Extension advice where weather, seed stock, or food safety changes the decision.
This guide contains no paid placement or confirmed affiliate purchase recommendation. For the site policy, see VegWin Affiliate Disclosure. Product claims, pesticide prescriptions, and unsafe food preservation methods are intentionally not supplied.
No. Scatter the tiny seed thinly and cover only lightly, following the seed packet and RHS guidance.
Pre-moisten a fine seed-starting mix, water gently, and monitor humidity while maintaining airflow as seedlings emerge.
It germinates in protected moderate warmth, but seedlings should not be subjected to prolonged severe chilling.
Wait until seedlings have grown true leaves and can be handled; lift the root ball gently instead of tugging thin stems.
No. Newly germinated celeriac produces small leaves and slender roots; the thick storage organ develops later.